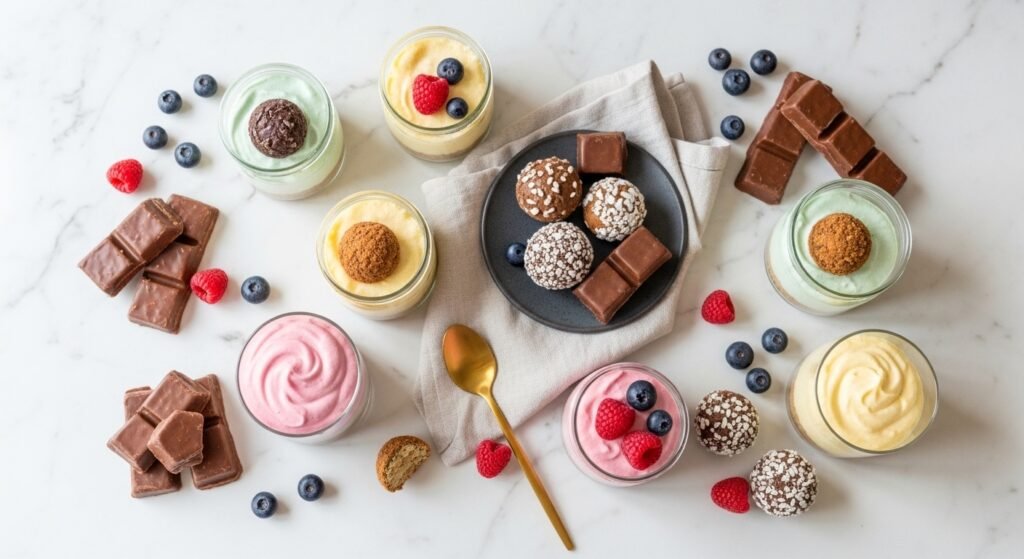
You want dessert right now—but the oven is off and the craving is real. These no bake desserts deliver instant satisfaction with minimal fuss, cool textures, and bright flavors you can make in minutes or chill until party time. Whether you’re short on time, avoiding extra heat, or feeding a crowd, these recipes are practical and delicious.
Inside you’ll find 14 easy no bake desserts: creamy cheesecakes, fudgy bars, fruity jars, and bite-sized truffles. Each recipe includes full ingredients, step-by-step instructions, and tips for getting the texture spot-on. I often whip cream in my KitchenAid stand mixer for quicker results, and lining pans with parchment paper makes lifting slices effortless. Read the notes if you’re making vegan, gluten-free, or keto swaps—many of these no bake desserts adapt easily.
Pick a recipe, pin it for later, and let’s build a cooler full of treats that don’t require an oven.
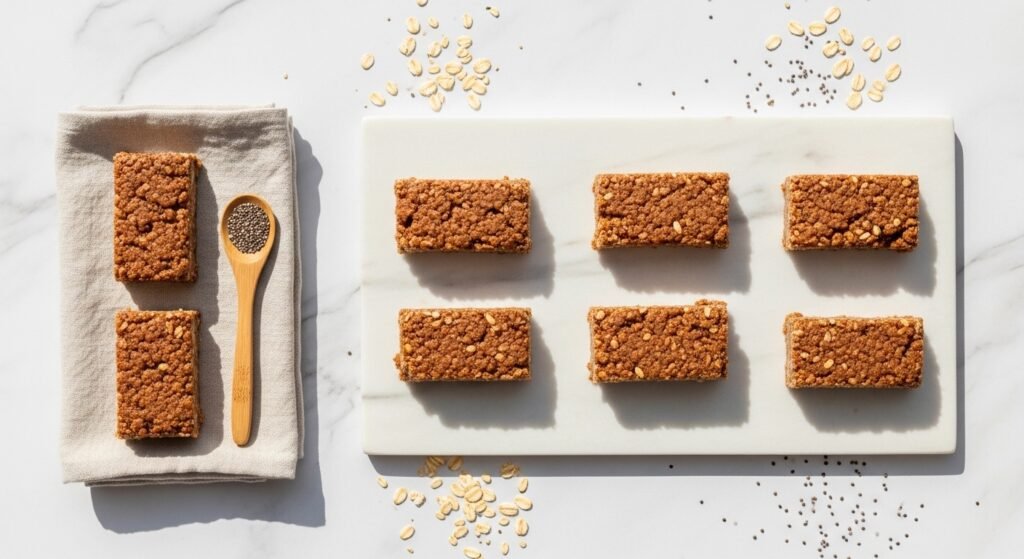
1. No-Bake Chocolate Peanut Butter Bars (no bake desserts)
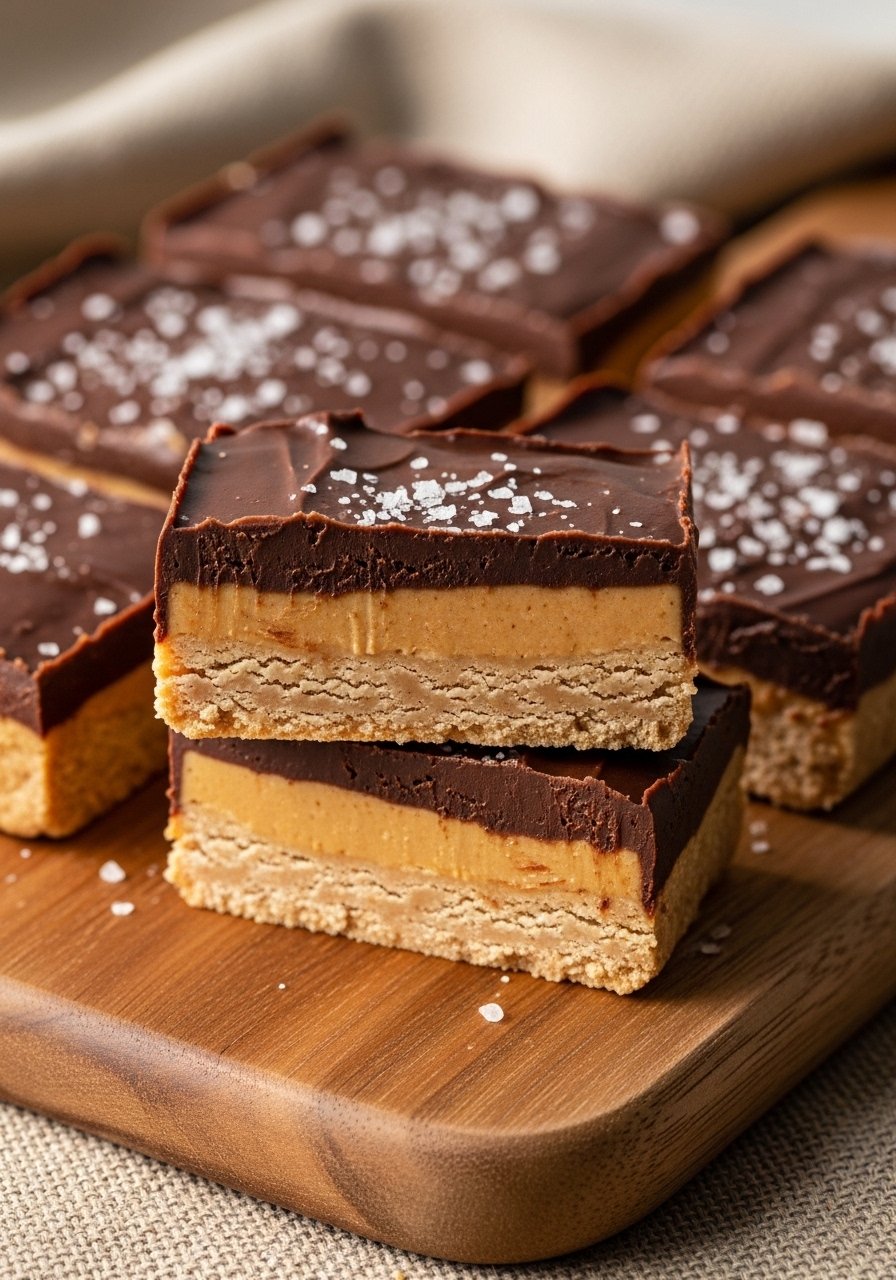
These bars marry creamy peanut butter with a glossy chocolate top. They’re rich but not heavy thanks to a crunchy cookie crumb base. Kids love them, and they’re great for lunchboxes or potlucks where you want something hand-held and indulgent.
Ingredients
- 2 cups graham cracker crumbs (or gluten-free graham)
- 1/2 cup unsalted butter, melted and warm
- 1 cup powdered sugar, sifted
- 1 cup smooth peanut butter, room temperature
- 1/2 tsp fine sea salt
- 2 cups semi-sweet chocolate chips
- 2 tbsp coconut oil or vegetable oil
- 1/2 cup chopped roasted peanuts (optional)
- 1 tsp vanilla extract
Instructions
- Line an 8×8-inch pan with parchment paper. Press crumbs and melted butter into the pan to form an even crust.
- In a bowl, beat peanut butter, powdered sugar, vanilla, and sea salt until smooth. Use a hand mixer for 30–60 seconds.
- Spread peanut butter mixture evenly over the crust. Sprinkle chopped peanuts if using.
- In a small saucepan over low heat or in 30-second bursts in the microwave, melt chocolate chips with coconut oil until glossy. Stir until smooth.
- Pour chocolate over peanut layer and tilt pan to spread into an even layer.
- Refrigerate for at least 2 hours until firm.
- Remove from pan using parchment paper and cut into 12 bars with a sharp knife chilled briefly in cold water for cleaner edges.
- Store covered in fridge; bring to room temperature 10 minutes before serving.
How to Serve It
- Cut into squares and sprinkle extra flaky sea salt on top.
- Pair with cold milk or espresso for balance.
- Store in an airtight container in the fridge up to 7 days.
- Make-ahead: freeze individually wrapped bars for up to 1 month. Thaw 30 minutes at room temperature before serving.
2. No-Bake Classic Cheesecake Cups
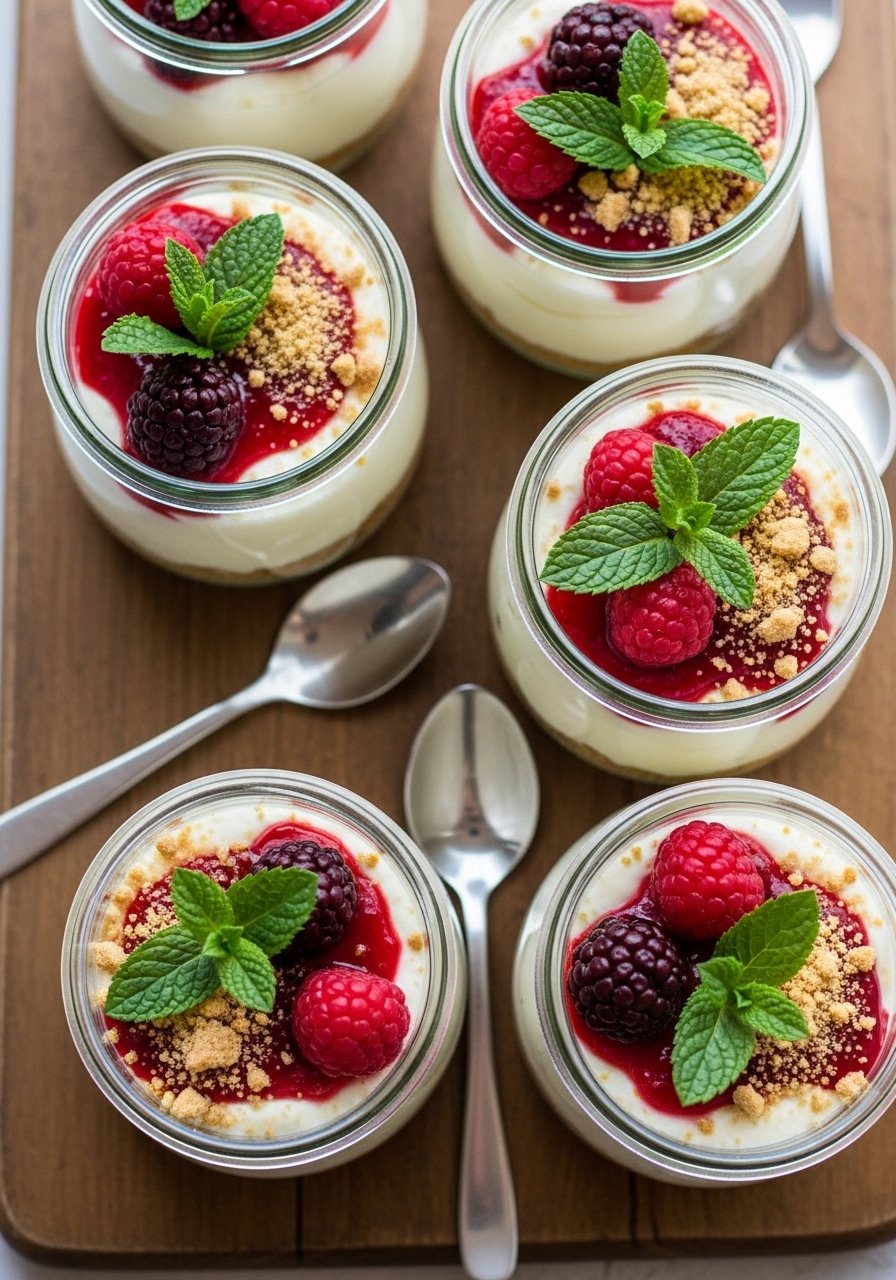
These cheesecake cups give all the tangy richness of baked cheesecake with a silky, mousse-like texture. They’re portion-controlled, elegant for gatherings, and you can layer fruit or chocolate between spoonfuls.
Ingredients
- 1 1/2 cups graham cracker crumbs
- 4 tbsp unsalted butter, melted
- 16 oz cream cheese, softened to room temperature
- 1 cup heavy whipping cream, cold
- 2/3 cup powdered sugar
- 1 tsp vanilla extract
- 2 tbsp lemon juice
- 1 cup mixed berry compote (fresh or store-bought)
- Zest of 1 lemon
Instructions
- In a bowl, combine graham crumbs and melted butter. Press 2 tbsp into the bottom of six 6-oz jars or dessert cups.
- Beat cream cheese until smooth in a stand mixer for 1–2 minutes.
- In a chilled bowl, whip heavy cream to stiff peaks with powdered sugar and vanilla.
- Fold whipped cream into cream cheese with lemon juice and zest until fully combined and smooth.
- Spoon or pipe a layer of cheesecake filling over crust using a piping bag for neat cups.
- Top with berry compote and a sprinkle of crumbs. Refrigerate 2–4 hours to set.
- Serve chilled.
How to Serve It
- Garnish with fresh mint and extra lemon zest.
- Serve in the same jars for a rustic look on a serving tray.
- Store in the fridge up to 4 days in airtight containers.
- Make-ahead: assemble and chill overnight for parties.
3. Lemon Blueberry No-Bake Bars
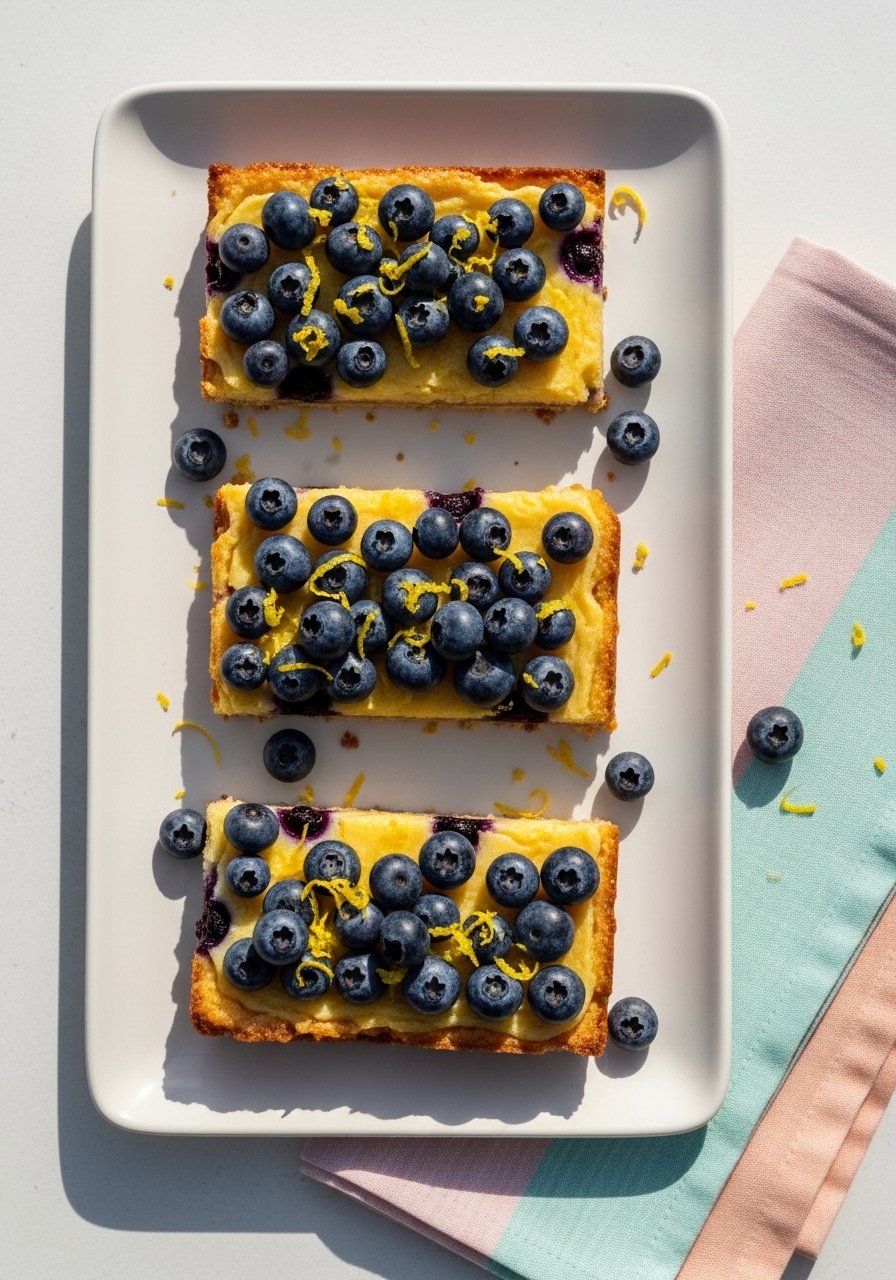
These bars are bright and refreshing—tart lemon curd folded into a creamy layer with bursts of blueberry. The crumb base adds crunch, and they’re ideal for spring gatherings or a lighter dessert option.
Ingredients
- 1 3/4 cups digestive biscuits or graham cracker crumbs
- 6 tbsp unsalted butter, melted
- 12 oz cream cheese, softened
- 1/2 cup powdered sugar
- 1 cup lemon curd (store-bought or homemade)
- 1 cup heavy cream, cold
- 1 tbsp lemon zest
- 1 cup fresh blueberries
- 1 tsp vanilla extract
Instructions
- Line a 9×9-inch pan with parchment paper. Mix crumbs and melted butter; press into the pan evenly. Chill 15 minutes.
- Beat cream cheese with powdered sugar until smooth. Add vanilla and lemon zest.
- Whip heavy cream to soft peaks and fold into cream cheese mixture.
- Gently fold in half the blueberries.
- Spread half the cream over crust. Dollop lemon curd and swirl gently with a knife. Top with remaining cream layer.
- Scatter remaining blueberries on top and chill 3–4 hours until set.
- Cut into squares with a sharp knife; wipe blade between cuts.
How to Serve It
- Serve chilled with extra lemon zest and mint leaves.
- Pair with green tea or a citrusy bubbly.
- Keep in a glass storage container in the fridge for up to 4 days.
- Bring to room temperature 10 minutes before serving for creamier texture.
4. Oreo Truffles (No-Bake Cookie Truffles)
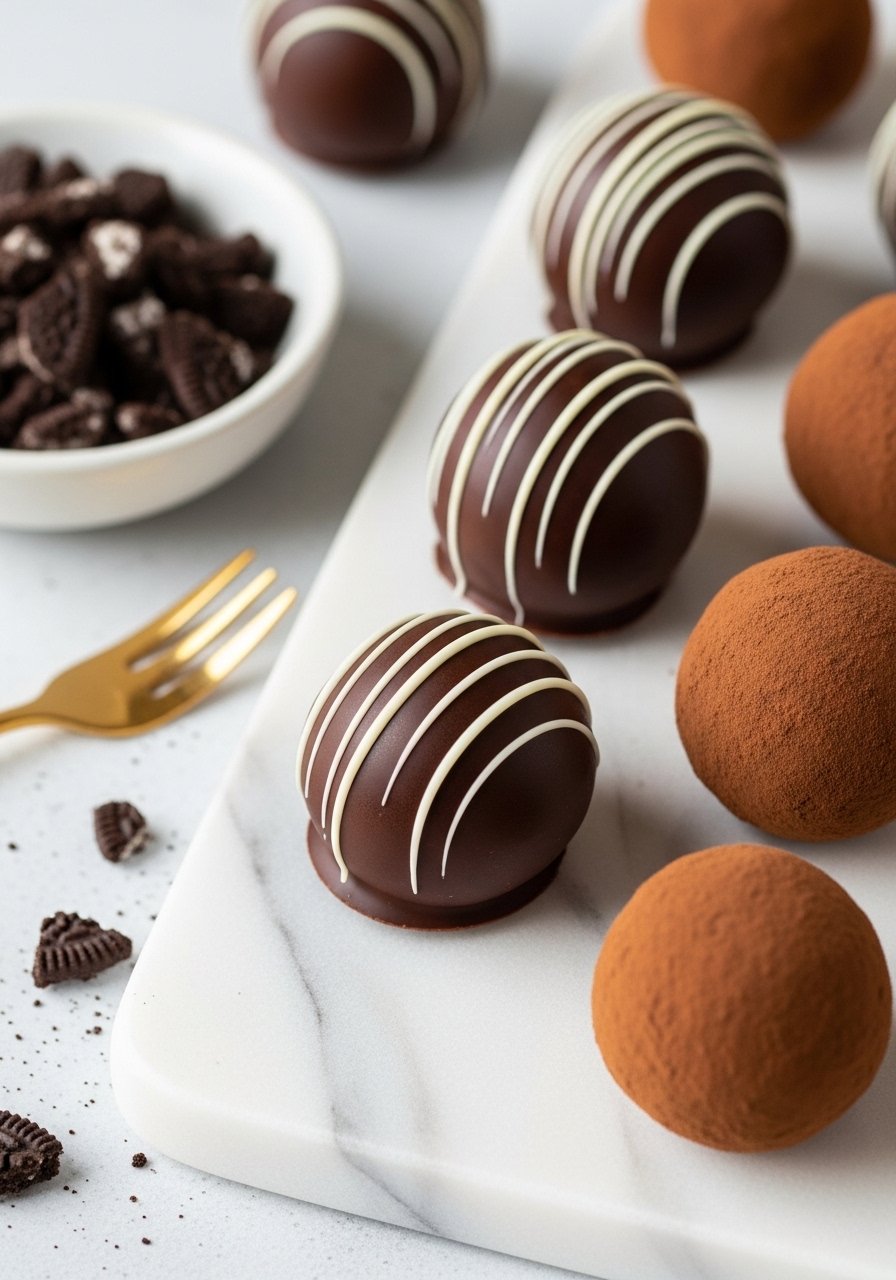
Oreo truffles are a classic no-bake crowd-pleaser—rich, crunchy, and simple. They're perfect for cookie swaps, holiday trays, or whenever you want a chocolate bite with minimal effort.
Ingredients
- 24 Oreo cookies, crushed (about 2 cups crumbs)
- 8 oz cream cheese, softened
- 12 oz semi-sweet chocolate chips or coating chocolate
- 2 tbsp coconut oil or shorten (for shine)
- 1/4 tsp salt
- 1/2 cup white chocolate, for drizzle (optional)
- Sprinkles or cocoa powder for decoration
Instructions
- Pulse cookies in a food processor to fine crumbs. Transfer to a bowl.
- Add cream cheese and salt; mix until uniform (about 2–3 minutes by hand).
- Roll into 1-inch balls and place on a baking sheet lined with parchment paper. Freeze 15–20 minutes to firm up.
- Melt chocolate with coconut oil in microwave-safe bowl in 20–30 second bursts, stirring between.
- Using a fork or chocolate dipping tools, dip each truffle and let excess drip off. Place back on parchment.
- Drizzle with melted white chocolate and add sprinkles, if desired.
- Chill 30 minutes until set.
How to Serve It
- Arrange on a serving platter for parties.
- Store in an airtight container in the fridge for up to 10 days or freeze for longer.
- Let sit 10 minutes at room temperature before serving for softer texture.
5. No-Bake Strawberry Cheesecake Jars (Vegan Option)
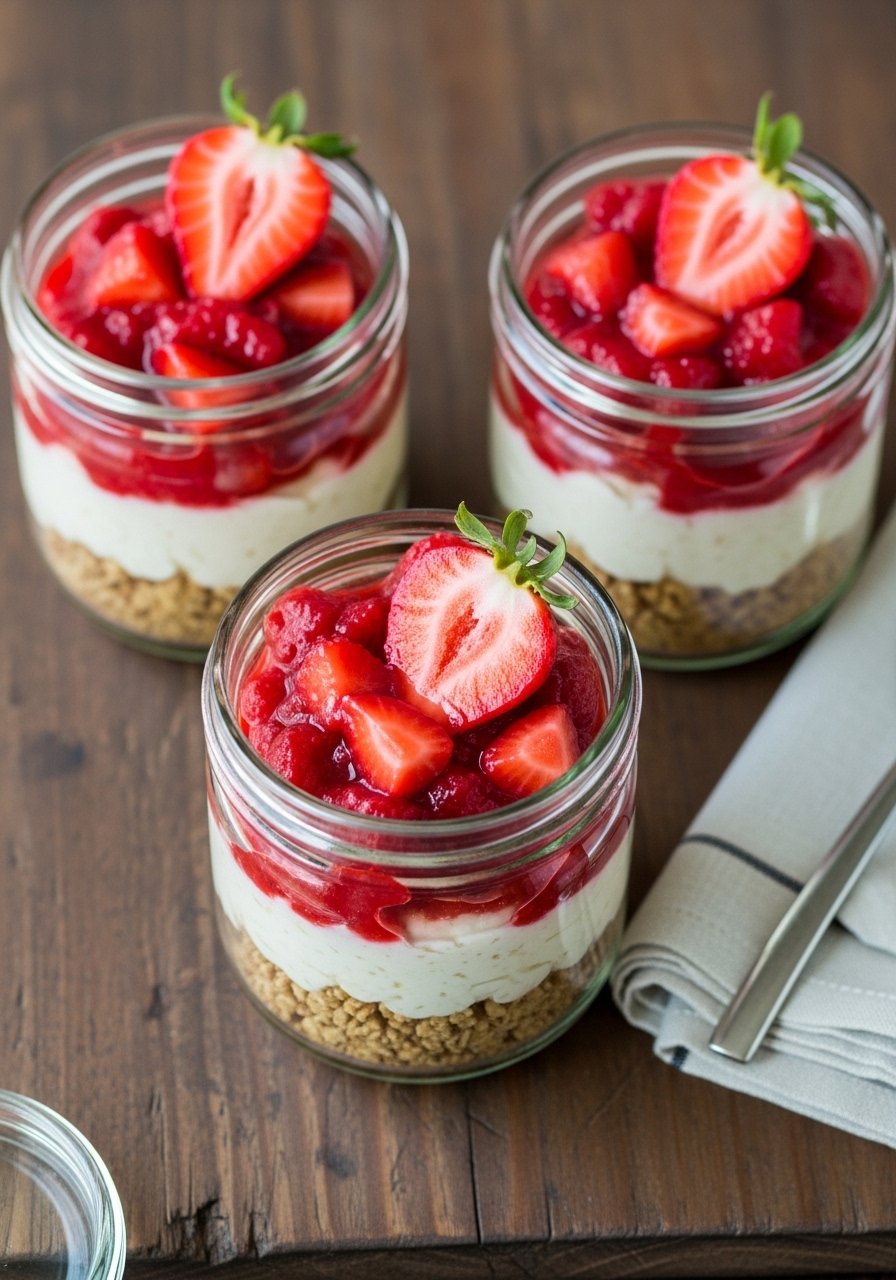
These jars are a vegan-friendly twist using coconut cream and cashews for a tangy, creamy filling. They’re portable, visually appealing, and bursting with fresh strawberry flavor.
Ingredients
- 1 1/2 cups rolled oats (gluten-free if needed)
- 1/2 cup almonds or walnuts
- 1/4 cup maple syrup
- 6 tbsp coconut oil, melted
- 1 1/2 cups raw cashews, soaked 4 hours and drained
- 1 cup full-fat coconut cream (chilled)
- 1/3 cup maple syrup or agave
- 2 tbsp lemon juice
- 1 tsp vanilla extract
- 1 cup fresh strawberry compote (cooked down with 2 tbsp sugar or use jam)
Instructions
- In a food processor, pulse oats and nuts until coarse. Add maple syrup and coconut oil; pulse until sticky. Press 2–3 tbsp into jars.
- Blend cashews, coconut cream, maple syrup, lemon juice, and vanilla until completely smooth (2–3 minutes). Scrape sides and blend again.
- Spoon or pipe filling over crust in jars. Top with strawberry compote.
- Chill 4–6 hours or freeze 1 hour for quicker set.
- Serve chilled.
How to Serve It
- Garnish with fresh strawberry slices and mint.
- Store in mason jars with lids or in glass meal prep containers for up to 4 days.
- Great for picnic boxes—keep chilled in a cooler.
6. No-Bake Chocolate Avocado Mousse (Vegan, Keto-Friendly)
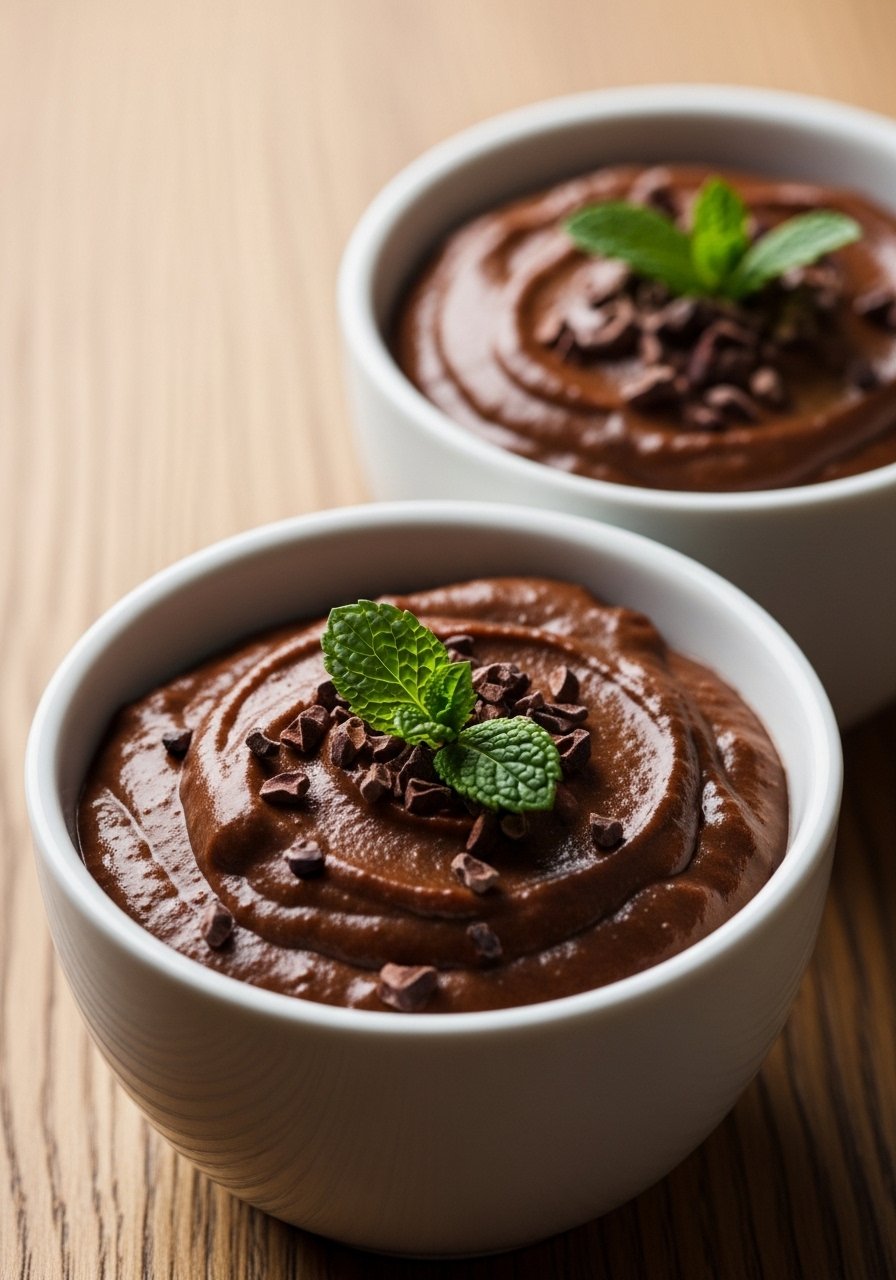
Silky avocado provides a naturally creamy base while cocoa adds deep chocolate flavor. This mousse is dairy-free and naturally sweetened—ideal for keto or vegan diets when using low-carb sweeteners.
Ingredients
- 2 ripe avocados, peeled and pitted
- 1/2 cup unsweetened cocoa powder
- 1/3 cup erythritol or maple syrup (adjust to taste)
- 1/4 cup unsweetened almond milk
- 1 tsp vanilla extract
- Pinch fine sea salt
- 2 tbsp melted coconut oil for shine (optional)
- Fresh raspberries or sugar-free whipped cream for garnish
Instructions
- In a high-speed blender, combine avocados, cocoa, sweetener, almond milk, vanilla, and salt. Blend until silky, scraping sides as needed.
- If using, stream in melted coconut oil while blending for a glossy finish.
- Taste and adjust sweetness. Chill at least 30 minutes to firm up.
- Spoon into serving cups and chill 1 hour for best texture.
- Garnish and serve cold.
How to Serve It
- Top with raspberries and a sprinkle of cocoa nibs.
- Keep covered in the fridge for 2–3 days; store in airtight containers to prevent oxidation.
- For a fancier presentation, pipe into glasses using a piping bag.
7. No-Bake Tiramisu Cups
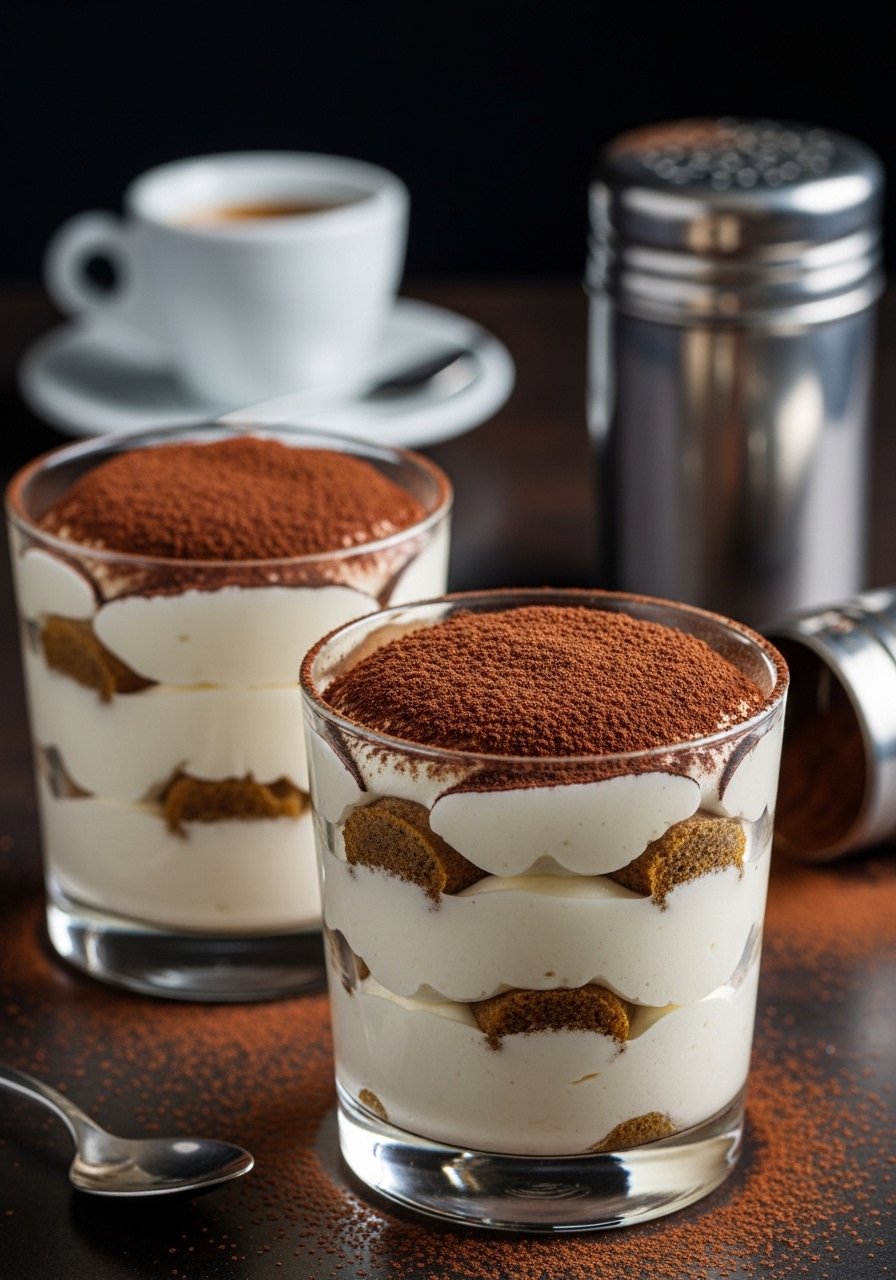
This simplified tiramisu skips baking but keeps the classic coffee-soaked ladyfingers and mascarpone cream. It’s rich, aromatic, and perfect for after-dinner indulgence.
Ingredients
- 24 ladyfinger cookies
- 8 oz mascarpone cheese, room temperature
- 1 cup heavy cream, cold
- 1/2 cup powdered sugar
- 1/2 cup strong brewed espresso, cooled
- 2 tbsp coffee liqueur (optional)
- 1 tsp vanilla extract
- 2 tbsp unsweetened cocoa powder for dusting
- Chocolate shavings for garnish
Instructions
- Combine espresso and coffee liqueur in a shallow bowl. Quickly dip each ladyfinger (1–2 seconds) to soak but not fall apart.
- Whip heavy cream with powdered sugar and vanilla to stiff peaks using a hand mixer.
- Fold mascarpone into whipped cream gently until smooth.
- Layer soaked ladyfingers, then mascarpone cream, repeat into 6 cups ending with cream.
- Dust with cocoa and chill 4 hours to meld flavors.
- Garnish with chocolate shavings before serving.
How to Serve It
- Serve in clear glasses to show layers; dust cocoa just before serving.
- Pair with small dessert wine or espresso.
- Store in the fridge up to 2 days in covered cups. Use cake covers if transporting.
8. No-Bake Key Lime Pie Squares
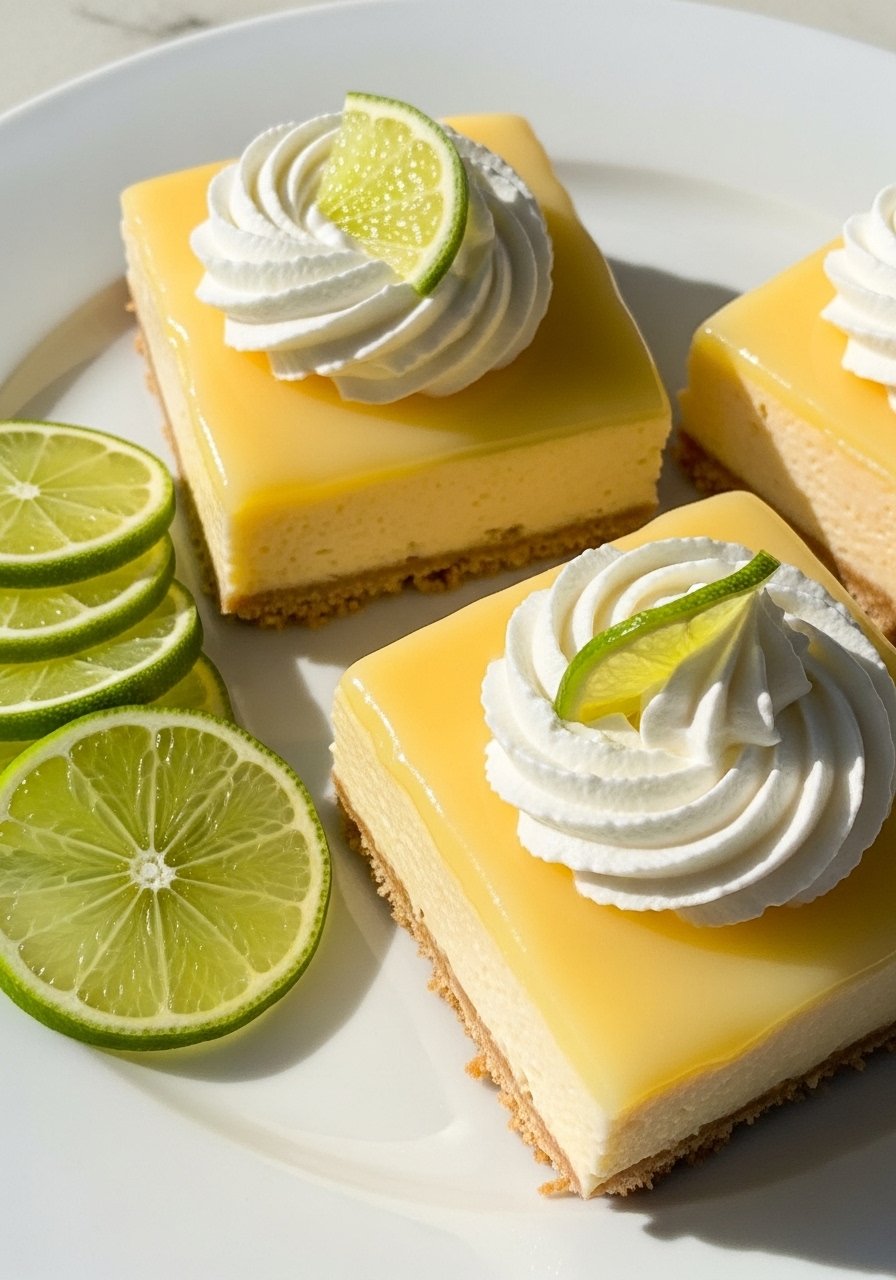
These zesty squares are tart, creamy, and cut into neat hand-held portions. The lime curd is bright without baking, and a graham base keeps the texture classic.
Ingredients
- 1 1/2 cups graham cracker crumbs
- 6 tbsp unsalted butter, melted
- 14 oz sweetened condensed milk (1 can)
- 1/2 cup key lime juice (fresh)
- 1 tbsp lime zest
- 8 oz cream cheese, softened
- 1/2 cup powdered sugar
- 1 cup heavy cream, whipped to stiff peaks
- Extra lime slices for garnish
Instructions
- Line a 9×9-inch pan with parchment paper. Mix crumbs and butter; press into pan and chill 15 minutes.
- Beat cream cheese and powdered sugar until smooth. Mix in sweetened condensed milk, lime juice, and lime zest until silky.
- Fold in whipped cream gently. Spread over crust evenly.
- Chill 3–4 hours until set.
- Cut into 12 squares and garnish with lime slices.
How to Serve It
- Serve chilled with whipped cream rosettes piped using Wilton decorating tips.
- Store refrigerated up to 4 days in an airtight container.
9. No-Bake Nutella Cheesecake Bars

These bars combine the hazelnut-chocolate flavor of Nutella with a creamy cheesecake layer for a decadent, oven-free treat. The nutty notes and silky filling are irresistible.
Ingredients
- 1 1/2 cups chocolate cookie crumbs
- 6 tbsp unsalted butter, melted
- 16 oz cream cheese, softened
- 1/2 cup Nutella, plus extra for drizzling
- 2/3 cup powdered sugar
- 1 tsp vanilla extract
- 1 cup heavy cream, whipped to stiff peaks
- 1/2 cup chopped toasted hazelnuts
Instructions
- Line an 8×8-inch pan with parchment paper. Mix crumbs with butter; press into pan. Chill 15 minutes.
- Beat cream cheese, Nutella, powdered sugar, and vanilla until smooth.
- Fold in whipped cream gently until homogenous.
- Spread filling over crust and sprinkle with toasted hazelnuts.
- Chill 3–4 hours until firm.
- Drizzle additional Nutella warmed slightly to loosen before serving.
How to Serve It
- Slice with a warm knife for clean edges.
- Present on a cake stand for a café look.
- Keep refrigerated in an airtight container for up to 5 days.
10. No-Bake Mango Coconut Panna Cotta
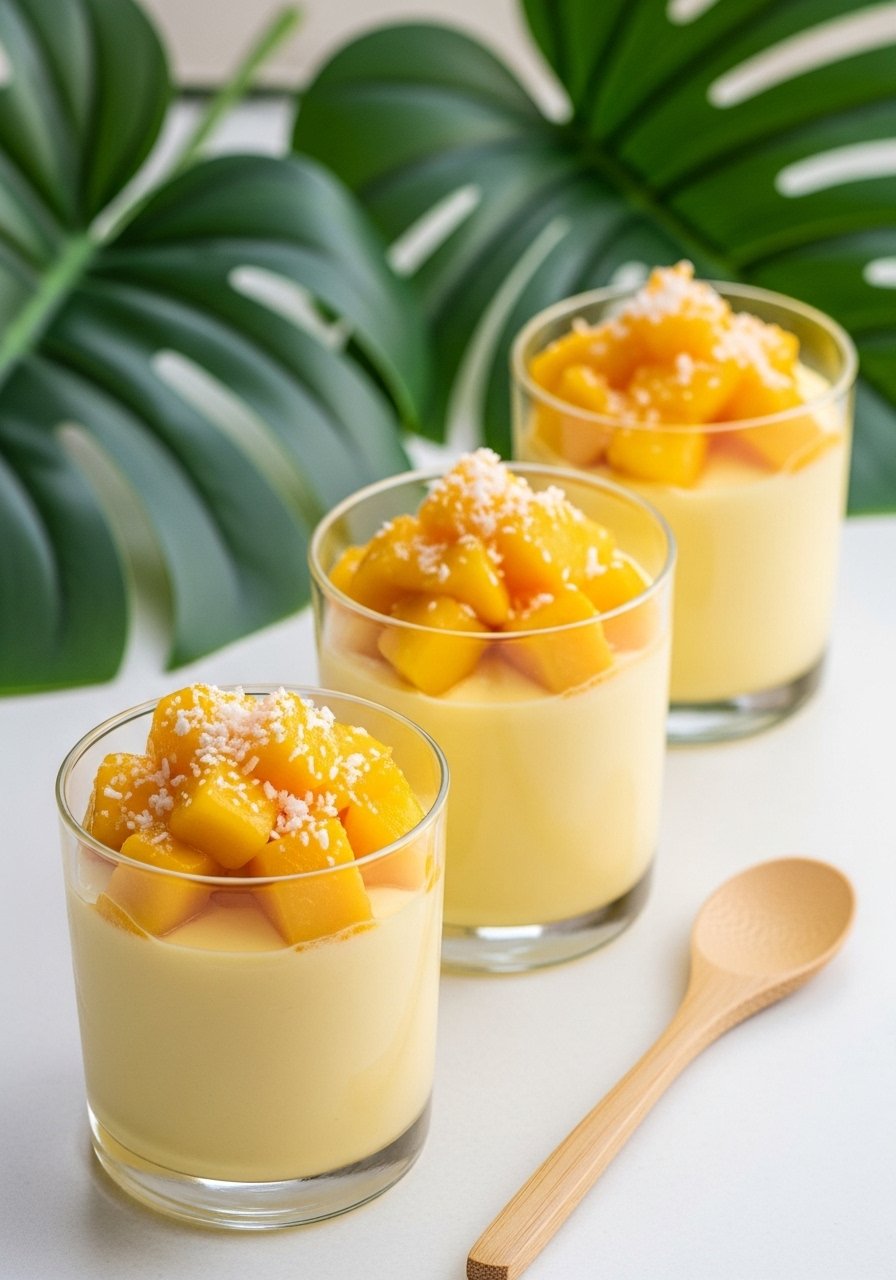
This panna cotta is set with gelatin or agar for a dreamy, wobbly texture—without any oven time. The mango-coconut combo is tropical and light.
Ingredients
- 1 1/2 cups full-fat coconut milk
- 1/2 cup heavy cream (or coconut cream for vegan)
- 1/3 cup sugar or coconut sugar
- 1 tsp pure vanilla extract
- 2 tsp powdered gelatin (or 2 tsp agar powder for vegan)
- 1/4 cup cold water (for blooming gelatin)
- 1 cup mango puree (fresh or canned, unsweetened)
- Toasted coconut flakes for garnish
Instructions
- Bloom gelatin in cold water for 5 minutes (or prepare agar per package instructions).
- In a small saucepan, heat coconut milk, cream, and sugar until steaming—not boiling. Remove from heat.
- Whisk in bloomed gelatin until fully dissolved. Stir in vanilla.
- Divide mango puree into molds or cups. Pour coconut mixture over mango.
- Chill 4 hours or overnight until set.
- Garnish with toasted coconut before serving.
How to Serve It
- Serve in clear glasses layered with mango puree for color contrast.
- Keep covered in the fridge for up to 3 days in glass meal prep containers.
- For parties, unmold onto plates and top with fresh berries.
11. No-Bake Chocolate Mousse (Classic)
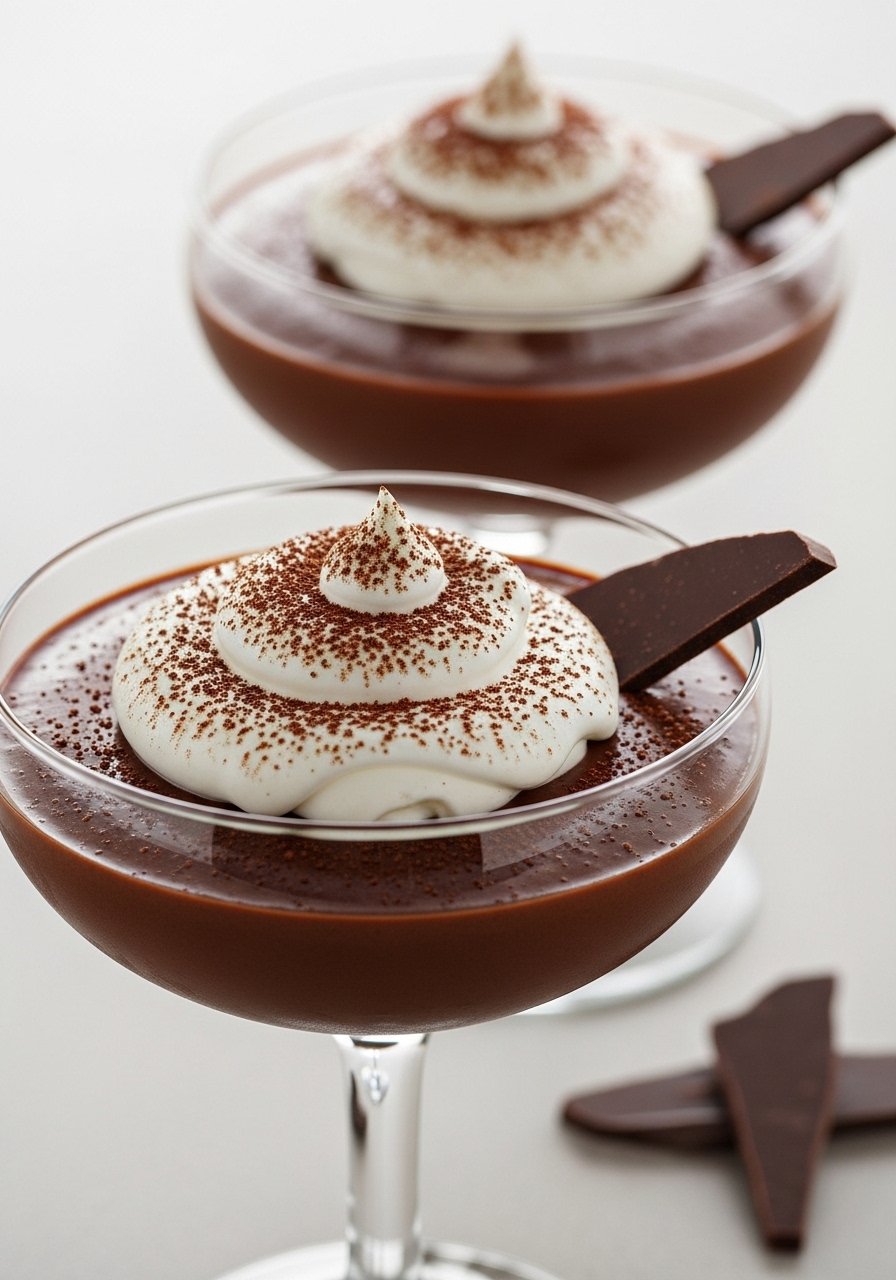
Classic chocolate mousse is airy, deeply chocolatey, and sets in the fridge. It’s a sophisticated last-minute dessert that feels restaurant-level with simple ingredients.
Ingredients
- 8 oz dark chocolate (70%), chopped
- 3 tbsp unsalted butter
- 3 large eggs, separated (room temperature)
- 1/4 cup sugar
- 1 cup heavy cream, whipped to soft peaks
- 1 tsp vanilla extract
- Pinch of fine salt
- Chocolate curls for garnish
Instructions
- Melt chocolate and butter in a heatproof bowl over simmering water or in short microwave bursts, stirring until glossy. Cool slightly.
- Whisk egg yolks into warm chocolate until smooth. Stir in vanilla and a pinch of salt.
- Beat egg whites with sugar to stiff peaks. Fold one-third of the whites into chocolate to lighten, then fold in remaining whites gently.
- Fold in whipped cream until uniform. Take care not to deflate.
- Spoon into serving glasses and chill 2–3 hours until set.
- Garnish with whipped cream and chocolate curls before serving.
How to Serve It
- Serve with a shortbread cookie on the side and espresso.
- Store covered in the fridge up to 2 days in airtight containers.
- Use a microplane zester to grate chocolate for garnish.
12. No-Bake Blueberry Cheesecake Bars
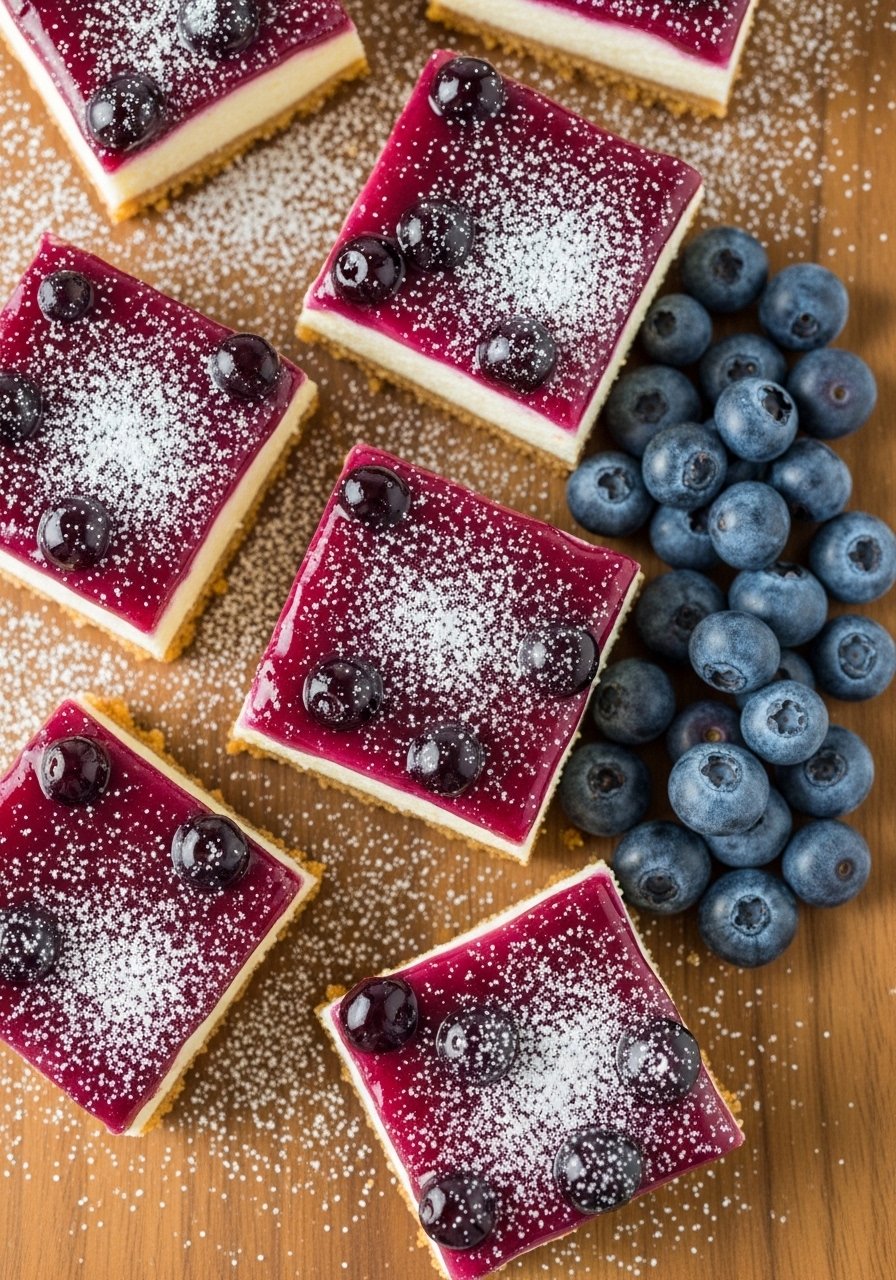
These bars combine a buttery crust, creamy cheesecake layer, and jewel-like blueberry topping. They’re showy but simple—perfect for afternoon tea or dessert tables.
Ingredients
- 1 1/2 cups graham cracker crumbs
- 6 tbsp unsalted butter, melted
- 16 oz cream cheese, room temp
- 2/3 cup powdered sugar
- 1 tsp vanilla extract
- 1 cup heavy cream, whipped to stiff peaks
- 1 1/2 cups blueberry compote (fresh berries cooked with 2–3 tbsp sugar)
- 1 tbsp lemon juice
- Zest of 1 lemon
Instructions
- Press crumbs and melted butter into a lined 9×9-inch pan and chill 15 minutes.
- Beat cream cheese, powdered sugar, vanilla, lemon juice, and zest until smooth.
- Fold in whipped cream. Spread over crust evenly.
- Spoon blueberry compote over cheesecake layer and swirl lightly.
- Chill 4 hours until firm.
- Cut into 12 squares using a sharp knife for neat slices.
How to Serve It
- Garnish with fresh blueberries and mint sprigs.
- Store in the fridge up to 4 days in glass storage containers.
- Make-ahead: assemble a day before for easier slicing.
13. No-Bake Salted Caramel Apple Crumble Jars
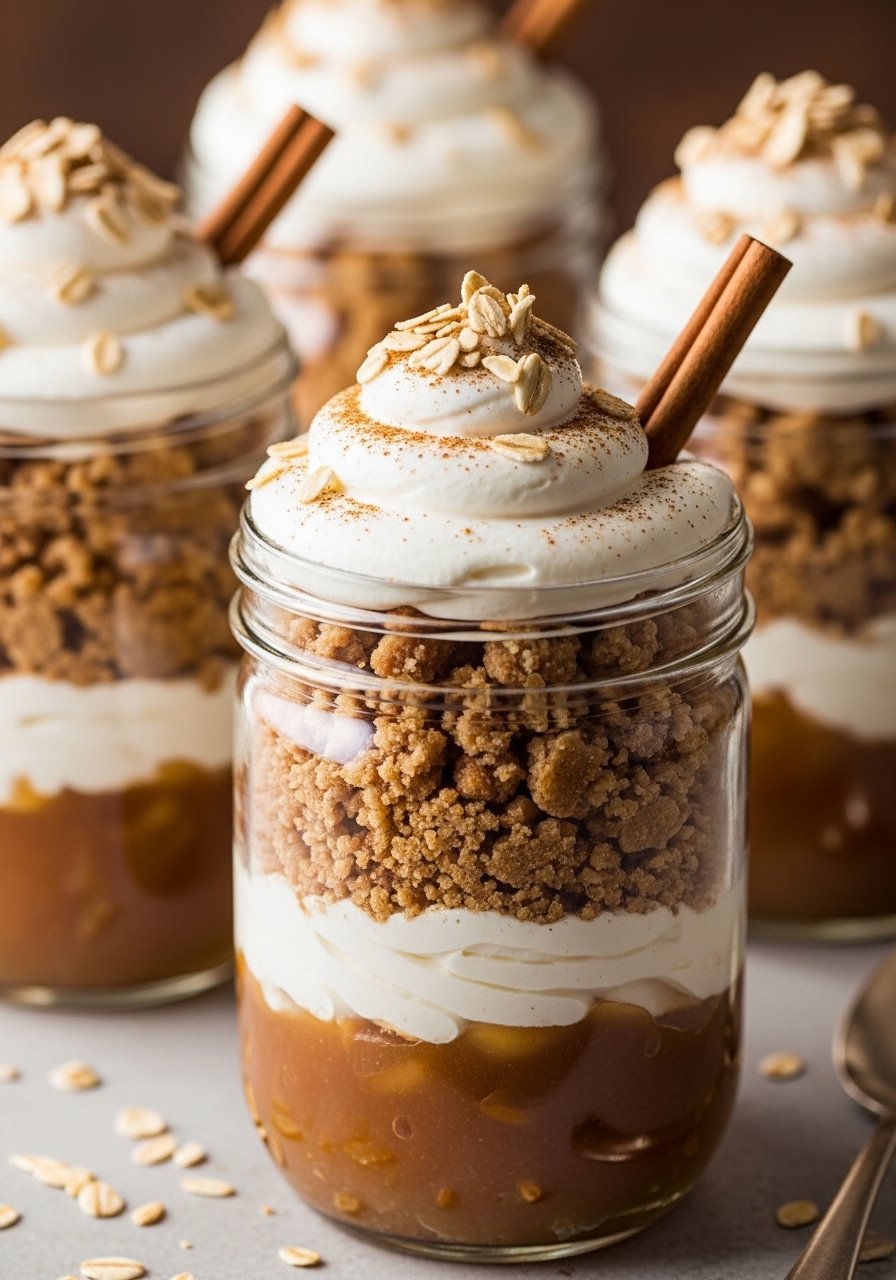
These jars bring fall flavors without baking. Caramel-coated apples sit atop a crunchy oat crumble for a warm-tasting dessert you assemble and chill.
Ingredients
- 3 cups peeled, diced apples (about 2 apples)
- 1/4 cup brown sugar
- 1 tsp cinnamon
- 1 tbsp lemon juice
- 1 cup rolled oats
- 1/3 cup flour (or oat flour)
- 1/4 cup brown sugar (for crumble)
- 3 tbsp unsalted butter, melted
- 1/2 cup store-bought caramel sauce (or homemade)
- 1 cup whipped cream for topping
- Pinch flaky sea salt
Instructions
- Toss apples with brown sugar, cinnamon, and lemon juice. Microwave on high in a covered bowl 3–4 minutes until softened but not mushy. Stir and cool slightly.
- Combine oats, flour, brown sugar, and melted butter; press onto a sheet and microwave 1–2 minutes or toast in a skillet until crisp for crumble.
- Layer apples, caramel, and crumble into mason jars. Top with whipped cream and a drizzle of caramel.
- Chill 30 minutes or serve immediately slightly warm.
How to Serve It
- Serve with extra caramel and a sprinkle of flaky salt.
- Close jars and store chilled up to 3 days in mason jars.
- For larger crowds, assemble in a trifle bowl.
14. Fridge Chocolate Hazelnut Fridge Cake (No-Bake)
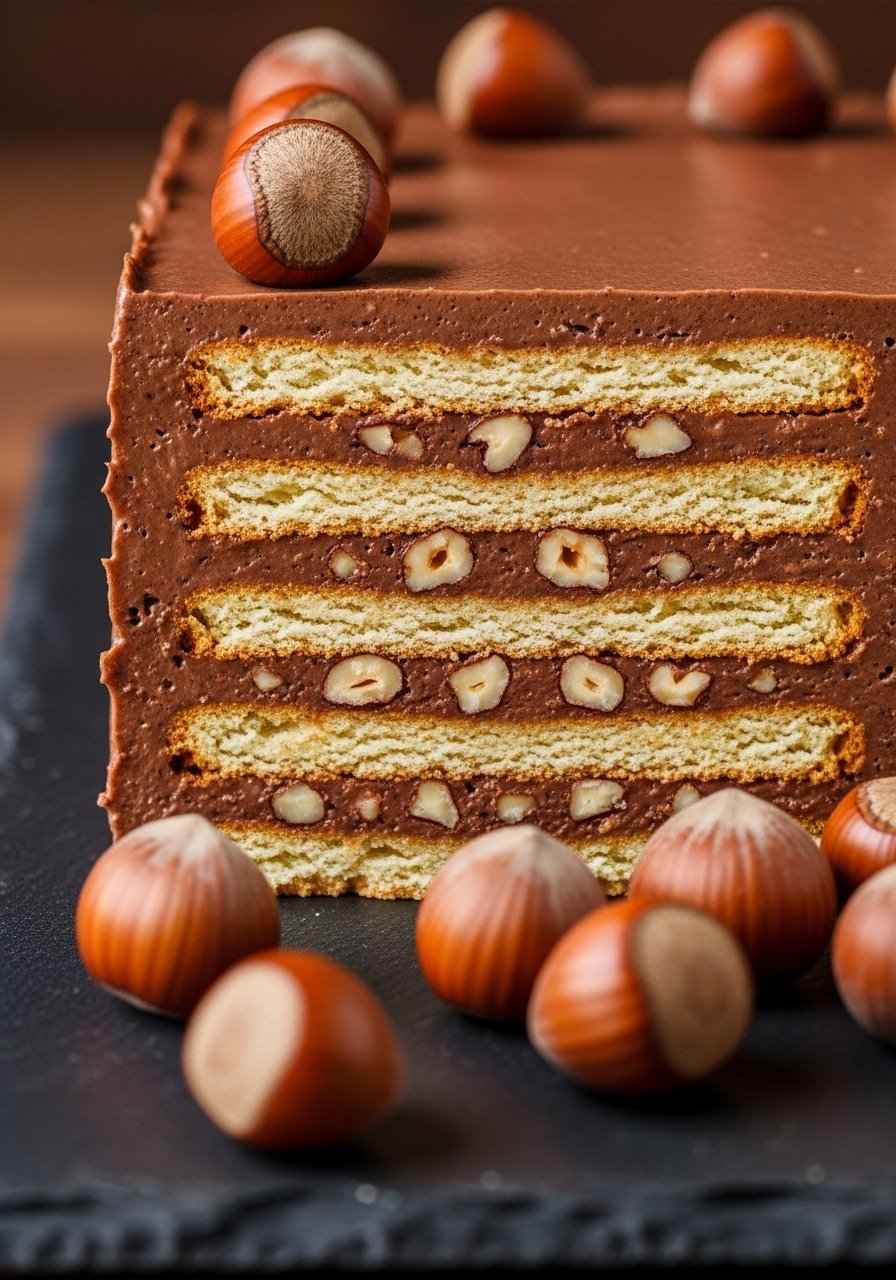
This fridge cake layers biscuits or cookies with a chocolate-hazelnut cream that firms as it chills—no oven, just time. It slices like a torte and holds up well for serving.
Ingredients
- 300 g plain tea biscuits or digestive biscuits (about 24–30)
- 1 cup heavy cream
- 1 cup chocolate-hazelnut spread (Nutella)
- 8 oz dark chocolate, melted
- 1/4 cup milk
- 3 tbsp unsalted butter, softened
- 1/3 cup toasted hazelnuts, chopped
- 1 tsp vanilla extract
- Pinch of salt
Instructions
- Line a loaf pan with parchment paper.
- Warm chocolate-hazelnut spread with milk and butter in short microwave bursts until smooth. Stir in vanilla.
- Whip heavy cream to soft peaks and fold into chocolate-hazelnut mixture until uniform.
- Dip biscuits quickly in milk or coffee to soften (1–2 seconds) and layer them in the pan. Spread a layer of chocolate cream, sprinkle chopped hazelnuts, and repeat until pan is full, ending with cream.
- Melt dark chocolate and pour a thin top layer for a glossy finish.
- Chill 6 hours or overnight until firm. Slice with a hot knife for clean cuts.
How to Serve It
- Sprinkle with extra chopped hazelnuts and cocoa powder.
- Keep refrigerated in an airtight container up to 5 days or freeze slices for longer storage.
- Serve with a dollop of whipped cream and espresso.
You now have 14 simple, oven-free recipes to cover every craving—from fudgy bars and airy mousses to fruity jars and creamy cheesecakes. Pin the recipes you want to try, and give one a go this week—you’ll be surprised how impressive a dessert can be without turning on the oven. What flavor are you making first: chocolate, citrus, or berry?
If you plan to make several of these, a good silicone baking mat set and a sturdy set of glass meal prep containers will simplify chilling, storage, and transport. Share these with friends or pin them to save for party planning—then tell me which one got rave reviews.