Breakfast should taste like breakfast — even when it's a gluten-free breakfast. If your pancakes collapse, muffins are dry, or toast crumbles, you're not alone: a 2024 Food Network survey found many home cooks say texture is the top barrier to enjoying gluten-free breakfast. You can fix that with the right ratios, a little technique, and the right tools.
The secret? Use a digital kitchen scale for consistent measurements and a seasoned Lodge cast iron skillet for even searing and crispy golden edges. Read on — you'll learn how to mix, cook, and finish a gluten-free breakfast that tastes great, with quick swaps, storage tips, and visual cues so you'll know when it's done.
Preparing Your Ingredients
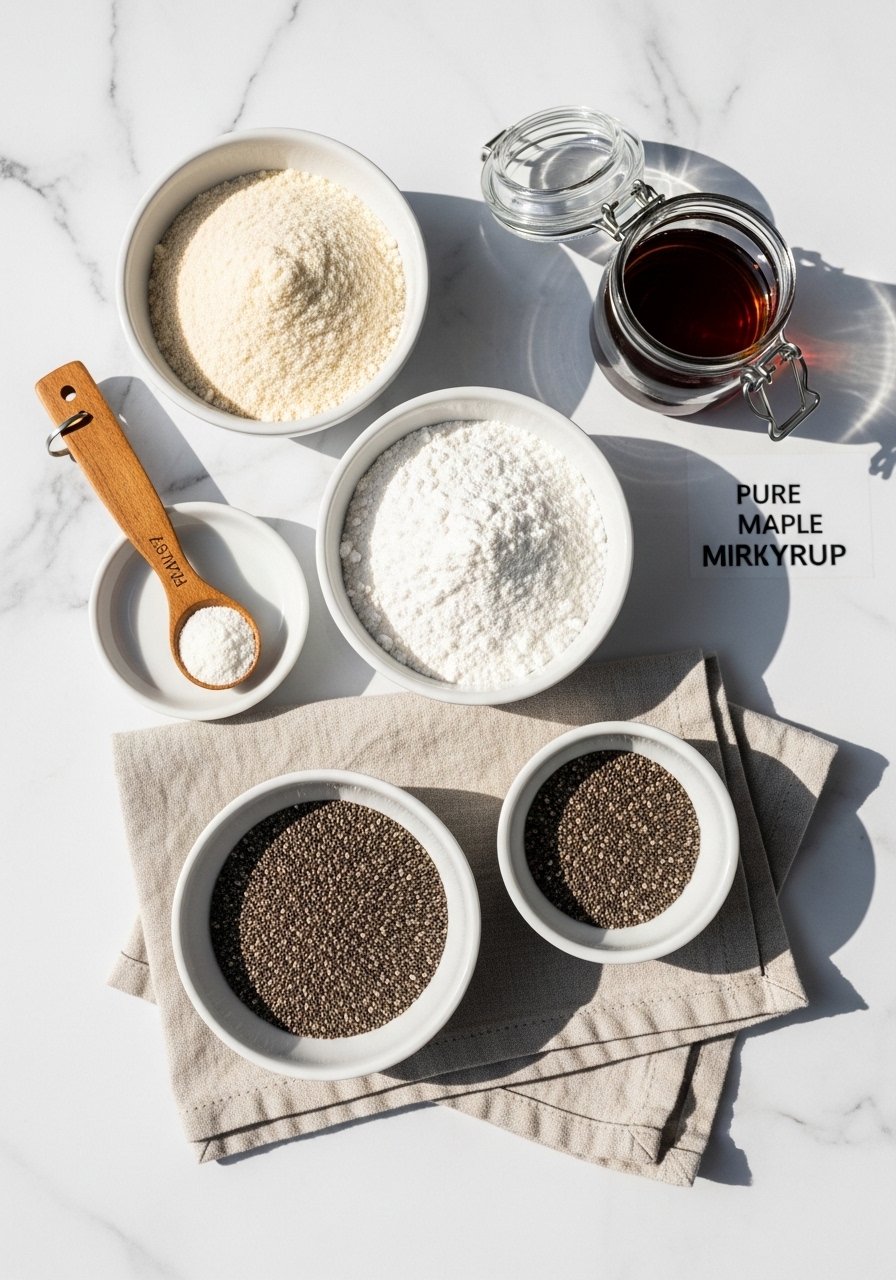
Start by collecting the flours and binders that build structure, not dryness. Use this base ratio for pancakes or quick muffins:
- 1 cup almond flour
- 1/4 cup tapioca starch
- 1 tbsp chia seeds (or 1 egg)
- 1 tsp baking powder
- Pinch of salt
Swap in almond flour and tapioca starch to get a moist crumb with a slightly chewy bite. Make a chia gel (1 tbsp chia + 3 tbsp water, rest 5 minutes) to replace eggs in vegan versions.
Prep tips:
- Weigh ingredients with a scale — 1 cup almond flour ≈ 96 g for consistency.
- Sift dry mix to avoid lumps.
- Let batters rest 5–10 minutes so starches hydrate; this prevents gritty texture.
The Mixing/Cooking Technique
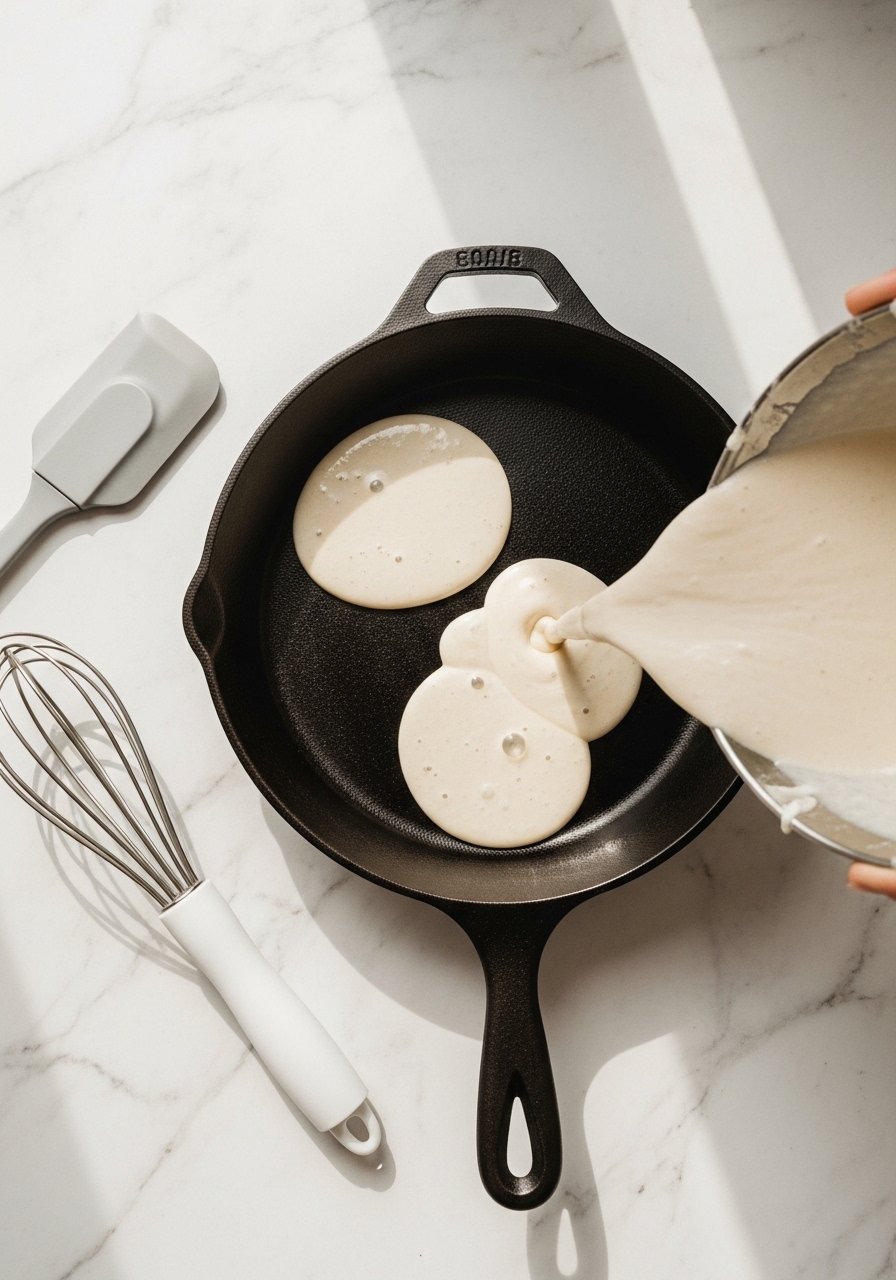
How you mix matters. Overworking gluten-free batter won't make it elastic — it makes it gummy. Use a gentle fold:
- Combine dry ingredients in one bowl.
- Whisk wet ingredients (milk, oil, maple syrup) in another with a silicone whisk.
- Fold wet into dry until just combined; tiny lumps are fine.
Cooking tips for pancakes and eggs:
- Preheat your Lodge cast iron skillet over medium for 3–4 minutes.
- Add a little oil, pour 1/4 cup batter per pancake.
- Flip when edges look set and bubbles burst on top — usually 2–3 minutes per side for fluffy tender centers and crispy golden edges.
Use a silicone spatula to lift delicate items without tearing.
Getting the Perfect Texture/Doneness
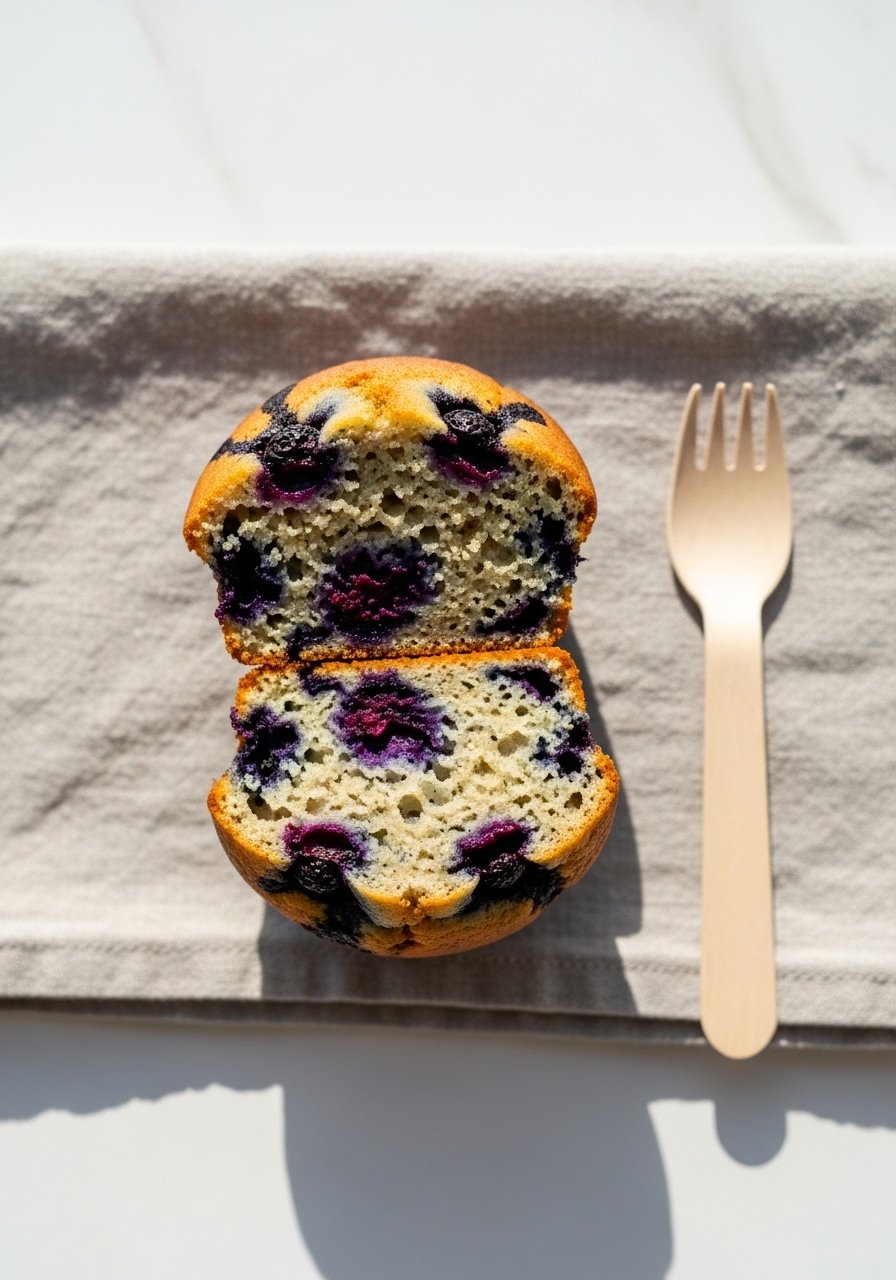
Texture usually fails for three reasons: wrong flour ratio, under-/overcooking, or lack of binder. Fix them like this:
- Fix crumbly results by increasing oat milk or non-dairy milk by 1–2 tbsp per cup of flour.
- Fix gummy results by reducing liquid by 1 tbsp and baking a touch longer.
- Visual cues matter: muffins are done when a toothpick comes out with a few moist crumbs, not wet batter.
Storage & scaling:
- Cool completely, then store in glass storage containers for up to 3 days in the fridge.
- To scale: multiply dry and wet ingredients proportionally; let batters rest slightly longer when increased.
Quick troubleshooting:
- Too dry? Add 1 tbsp pure maple syrup or oat milk.
- Too dense? Swap 2 tbsp of almond flour for an extra 1 tbsp tapioca starch next time.
Finishing Touches and Serving
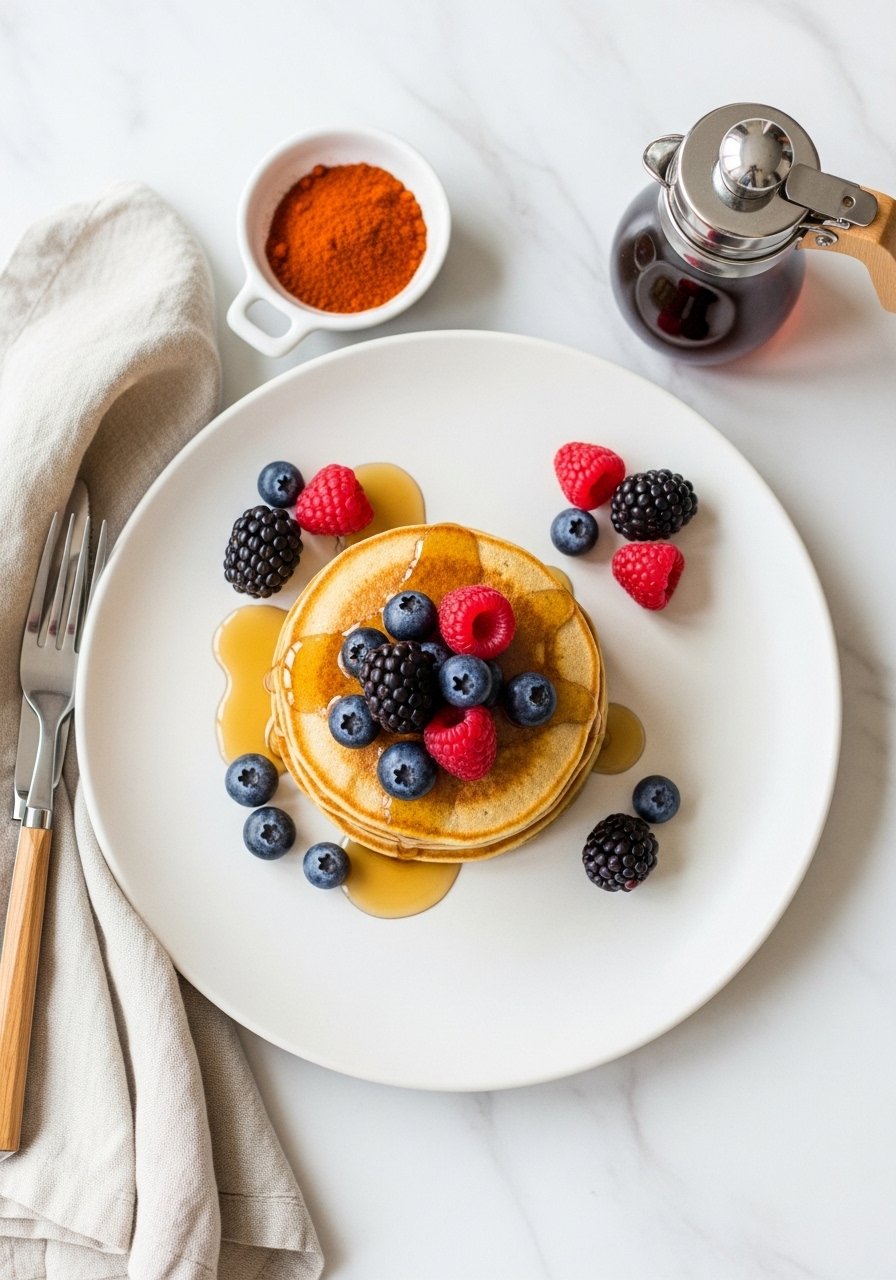
Finish with texture and flavor contrast:
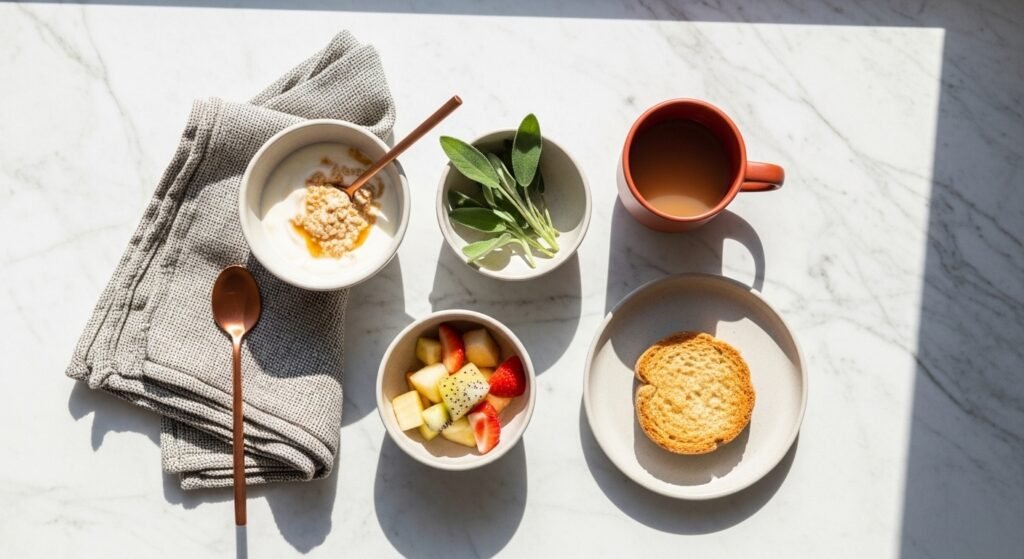
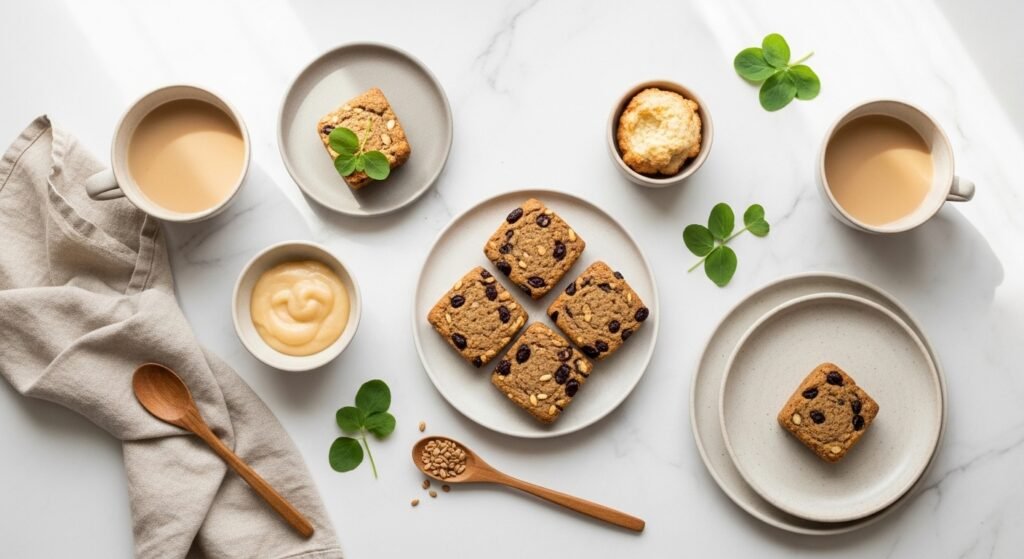
- Drizzle pure maple syrup and add fresh fruit for bright acidity.
- For savory, sprinkle a pinch of smoked paprika or a smear of yogurt.
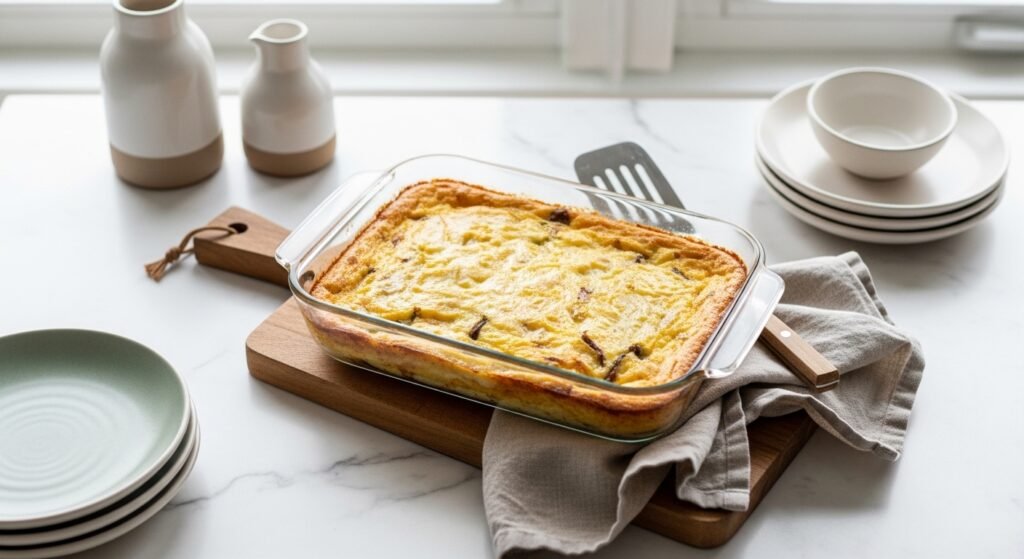
- Repurpose leftovers: toast day-old gluten-free muffins in a skillet for crispy golden edges.
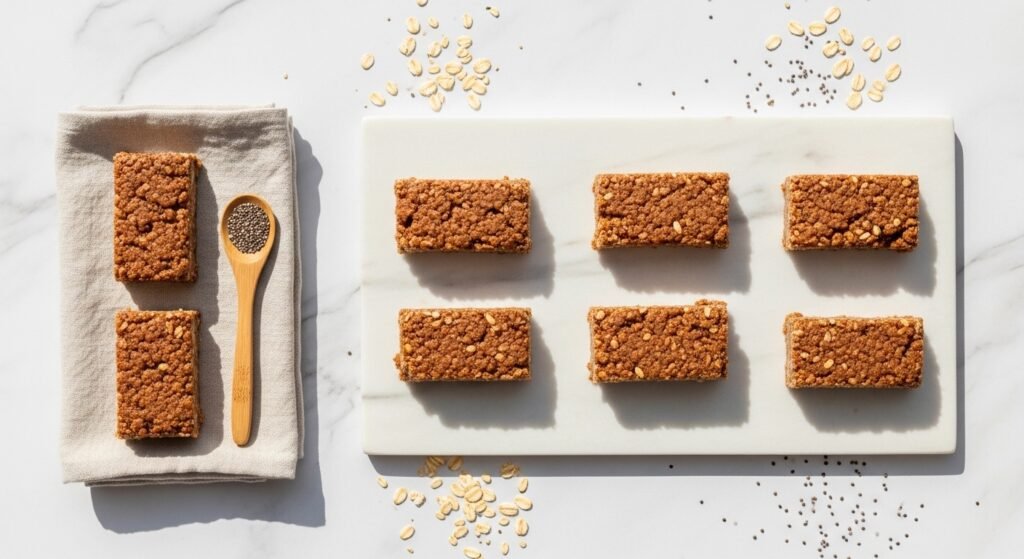
Unique tip competitors miss: make a small batch of toasted, crushed gluten-free oats or nuts as a crunchy topping — it mimics the textural contrast you lose without gluten.
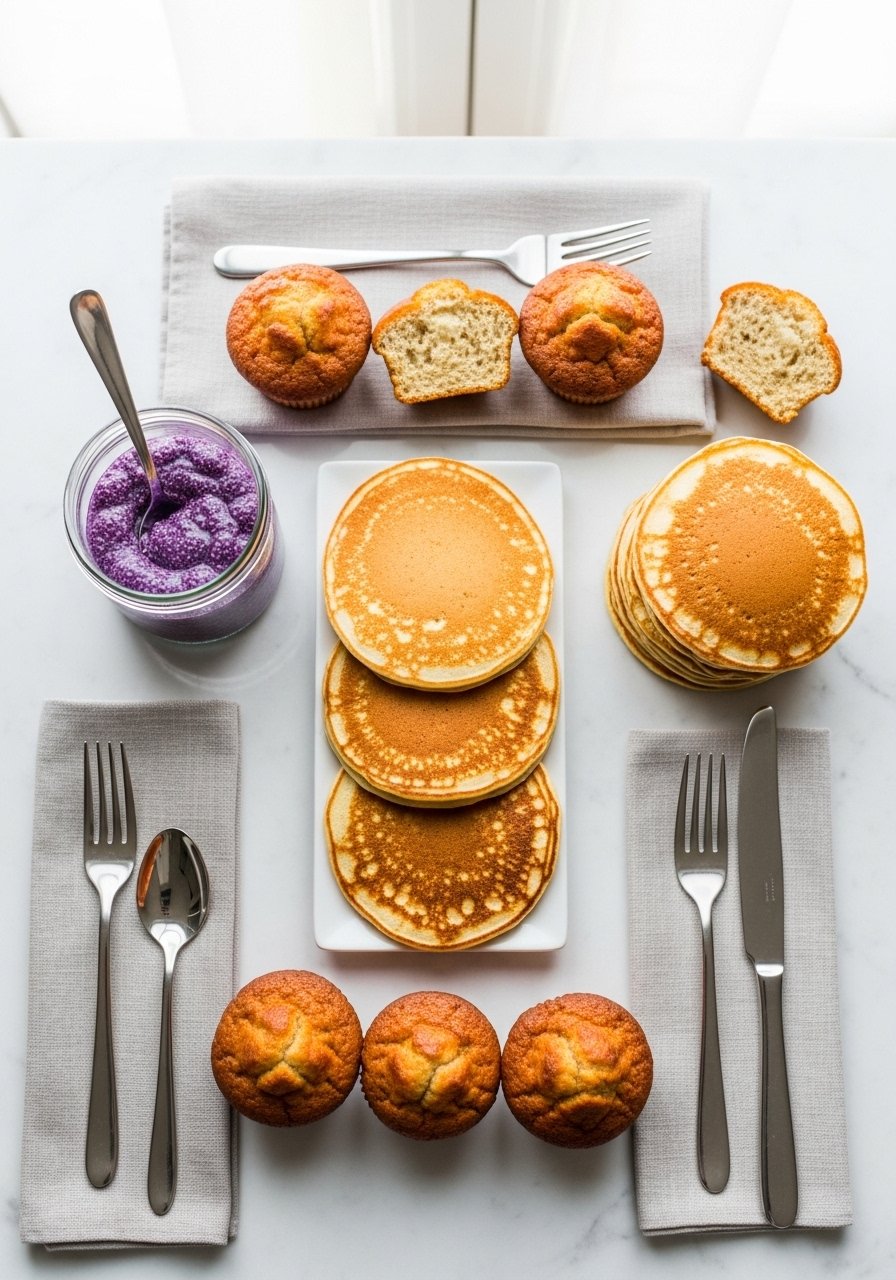
Pin-worthy final styling: stack pancakes unevenly, add a pat of butter or coconut cream, drizzle syrup in a thin stream, and include a fork with crumbs for a casual, inviting shot.
Feeling ready? You just learned how to make a gluten-free breakfast that tastes great: use balanced flours, hydrate batters, rely on visual cues, and finish with bold flavor. Save this guide, pin it for your next weekend cook, and try one swap: next time use chia gel instead of eggs and tell me which texture you prefer. If you want a single tool to make repeatable results, grab a digital kitchen scale — it pays off every morning. Pin this guide and share with a friend who needs better gluten-free breakfast ideas!