
You love crepes but tearing them ruins the moment. If your crepes tear when spreading, flipping, or folding, you’re not alone—over half of home cooks say delicate crepes are their biggest breakfast frustration in casual baker polls. This guide shows you how to make breakfast crepes without tearing, using simple measurements, visual cues, and a few smart tools.
The secret? Start with a smooth crepe batter and the right pan temperature. I use a digital kitchen scale for exact measurements and a non-stick crepe pan to prevent sticking the second you pour. Follow the steps below for thin even layers, easy flips, and crispy golden edges every time.
What you’ll learn: how to mix a lump-free batter, how long to rest it, pan temps and visual doneness, flipping technique that prevents rips, and storage/reheat tips that keep crepes soft.
Preparing a batter that won’t tear
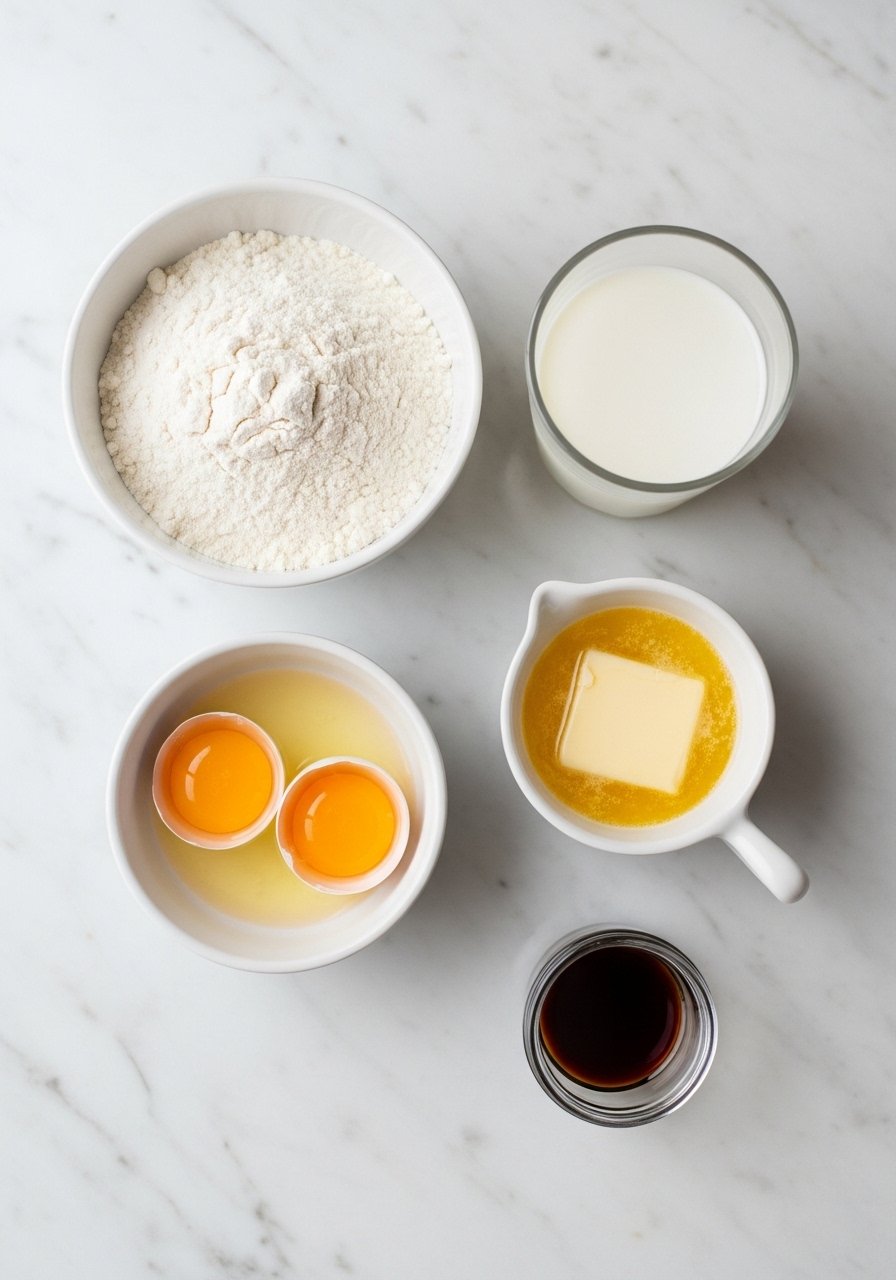
- Weigh ingredients for consistency: 125 g 00 flour, 2 large eggs, 300 ml milk, 1 tbsp melted unsalted butter, 1 tsp vanilla, and a pinch of salt. Use a digital kitchen scale and a glass measuring cup to avoid guesswork.
- Whisk dry first, then add wet: Sift the flour into a bowl, create a well, add eggs, then gradually whisk in milk. A silicone whisk helps you reach a smooth crepe batter without scratching.
- Rest the batter 30–60 minutes in the fridge. Resting relaxes gluten and reduces tearing when you spread the batter thin.
Tips:
- For extra silkiness, substitute half the milk with 1/4 cup club soda or sparkling water.
- If lumpy, strain the batter through a fine mesh sieve—this visual cue prevents holes and tears.
Getting the pan temperature right (no tearing on the flip)
- Preheat to medium-low. You want the pan hot enough for the batter to set fast but not so hot the edges burn and the center stays raw.
- Test with a 1 tablespoon dollop of batter: it should spread and set within 12–15 seconds, not immediately sizzle away.
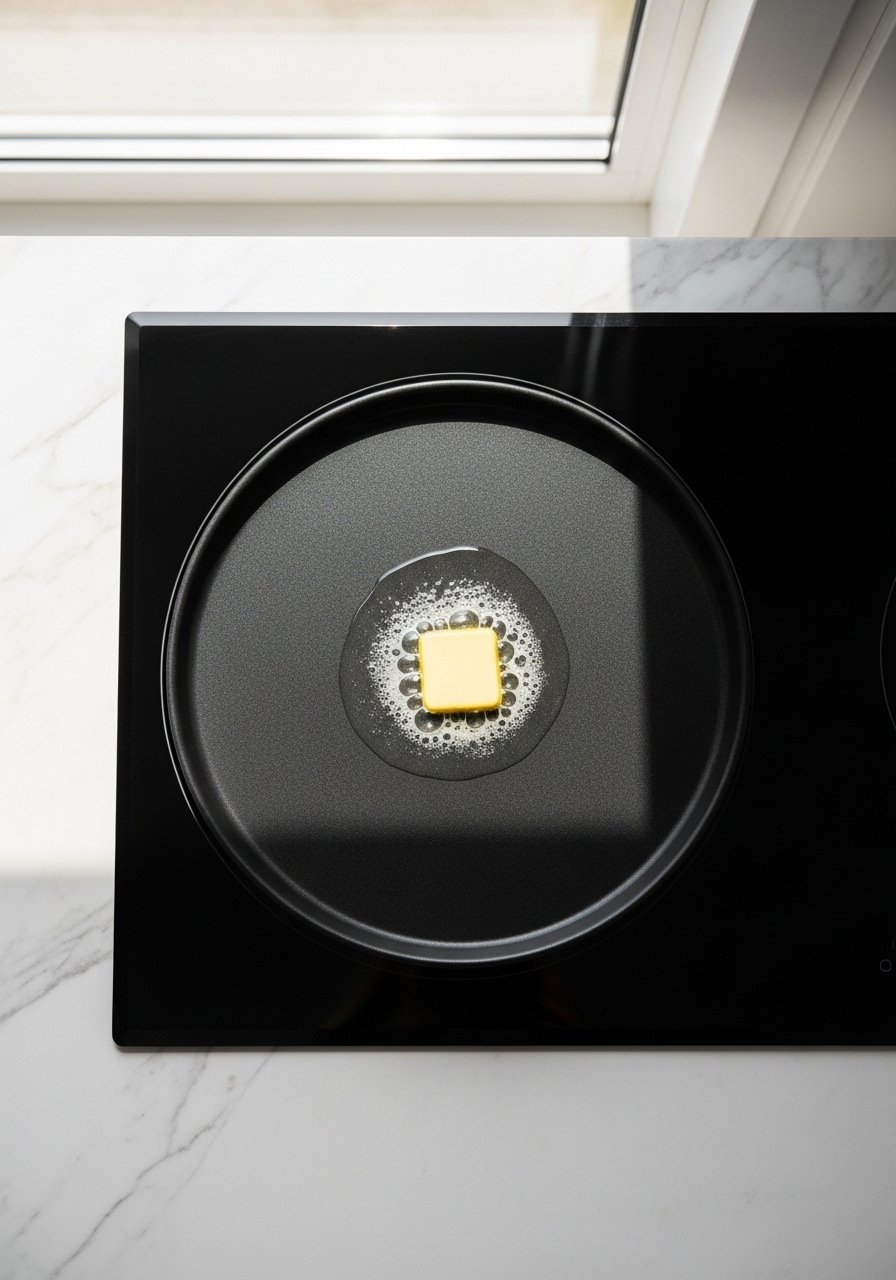
- Lightly brush the pan with melted butter between crepes using a folded paper towel (wipe, don’t pool). This prevents sticking while avoiding greasy, brittle edges.
Product tip: A quality non-stick crepe pan keeps the surface even and reduces tearing.
Spreading, flipping, and folding without ripping
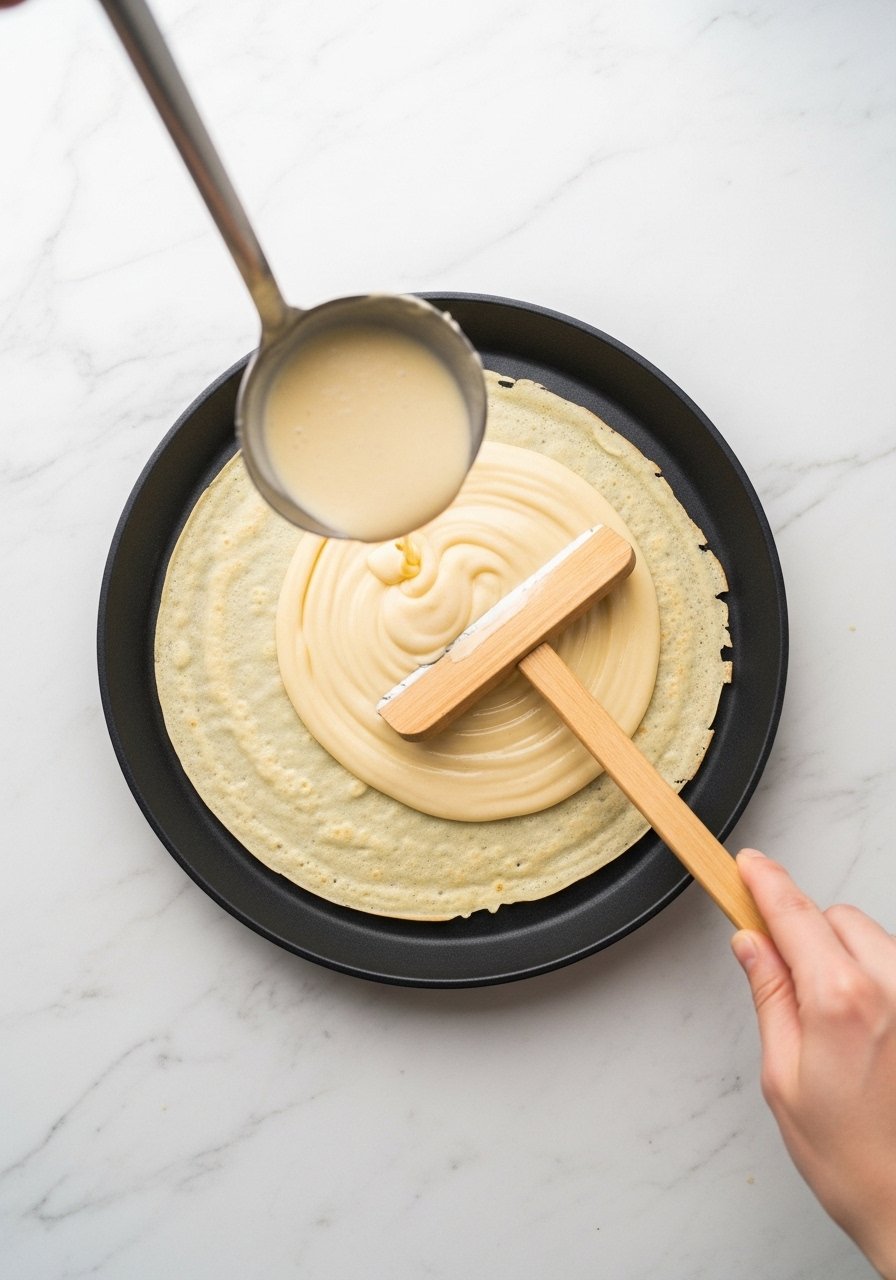
- Pour with a small ladle or measuring cup and immediately tilt/swirl the pan to create a thin even layer.
- Cook about 45–60 seconds until the surface looks matte and edges lift slightly. Use a thin crepe spatula to gently slide under the edge and check.
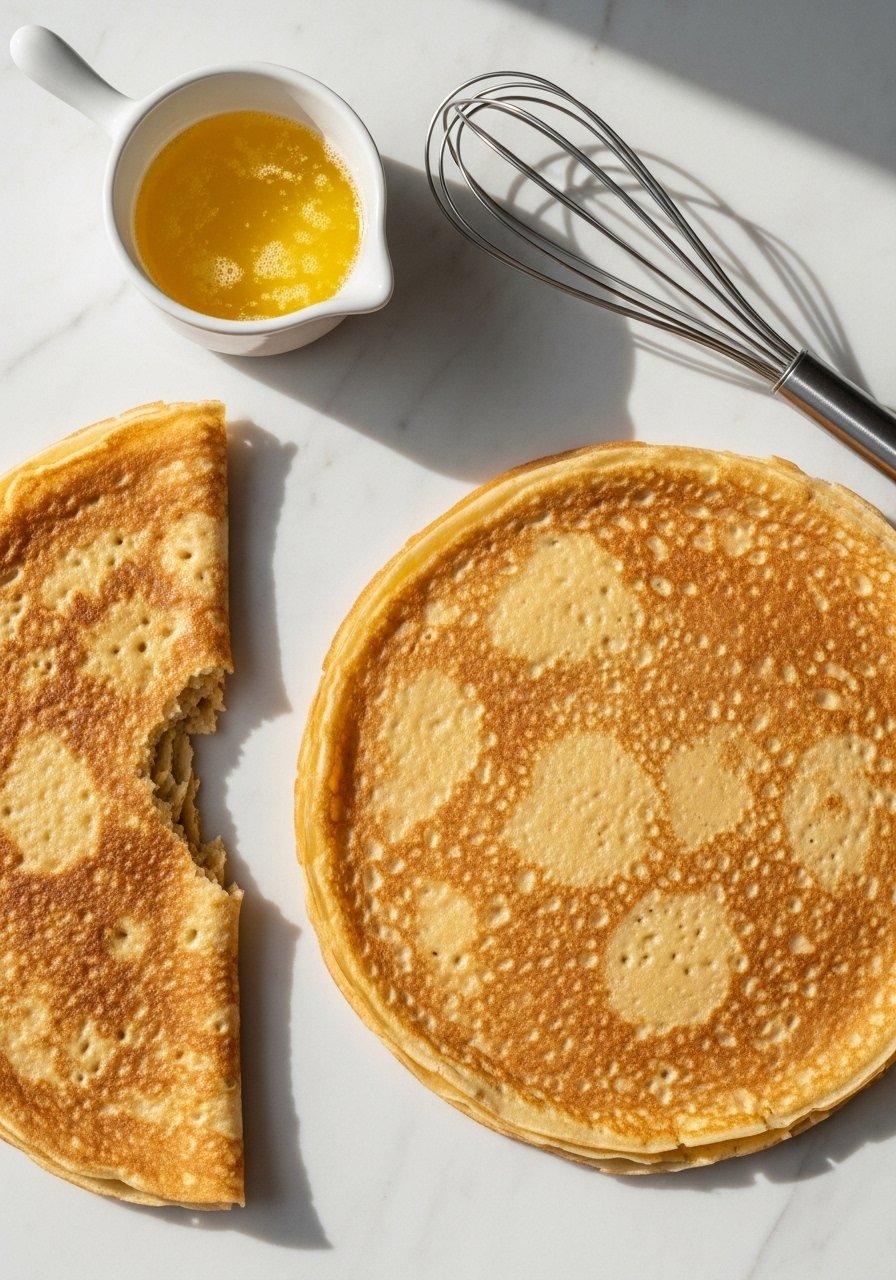
- Flip confidently: slide the spatula around most of the crepe, then use your fingers to flick a small corner and complete the turn. For beginners, flip using the spatula only—supporting the crepe avoids mid-air rips.
Pro tricks:
- If a crepe tears while flipping, finish cooking and use it as a messy wrap—no waste.
- For perfectly round crepes, pour into the center and use a round motion immediately.
Troubleshooting common tearing problems
- Batter too thick → add 15–30 ml milk at a time until it pours like heavy cream.
- Pan too hot → lower to medium-low; burnt edges mean fragile centers.
- Not enough rest → give it at least 30 minutes; shortened time increases elasticity and tearing.
- Stacking care → separate with parchment circles when storing so edges don’t stick (use small parchment rounds from your pantry staple).
Storage and scaling:
- Stack cooled crepes with parchment between them; refrigerate up to 2 days, freeze up to 1 month.
- Reheat on a warm pan for 15–20 seconds per side to restore pliability.
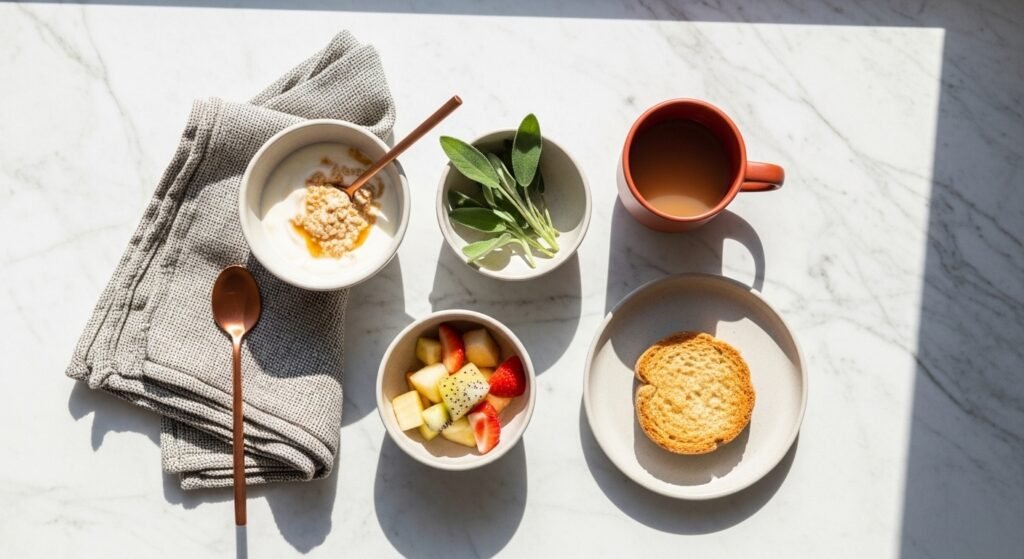
Finishing touches and serving ideas
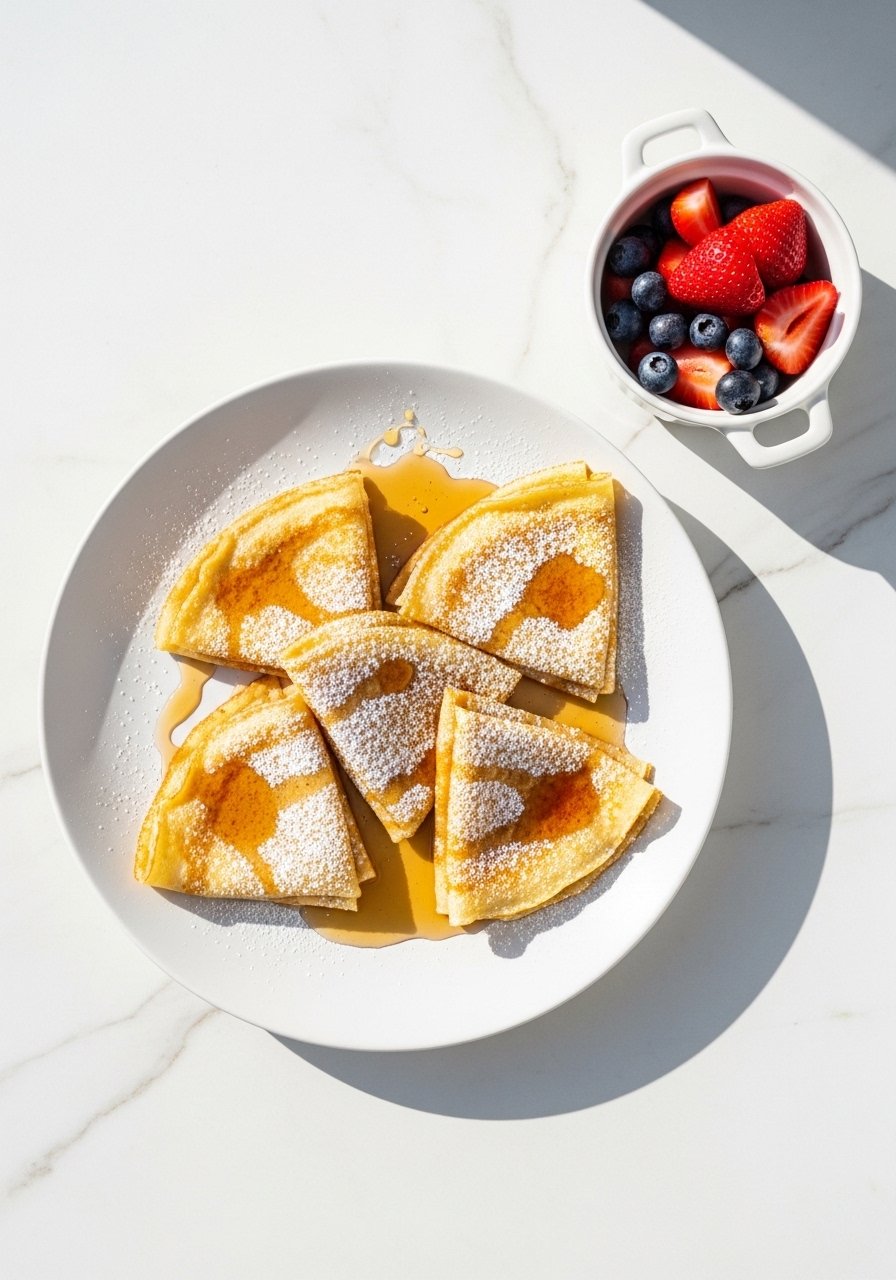
- Keep it simple: warm with a pat of butter and a drizzle of pure maple syrup (pure+maple+syrup).
- Or fill with lemon curd, mascarpone, or a sprinkle of cinnamon and sugar.
- For richer flavor, stir 1 tbsp melted unsalted butter (unsalted+butter) into the batter before resting.
Which tool helps most? A digital kitchen scale and a good silicone whisk will solve the majority of mistakes.
You’ve got this—no more torn crepes. Save or pin this guide for your next weekend breakfast and try the little changes above. Which tip will you try first—longer rest, a cooler pan, or a new crepe spatula? Pin this guide and share with friends who need a tear-free crepe routine!